


In a large glass or ceramic bowl, place the sifted bread flour and salt. If you are using yeast flakes, add them now. Thoroughly mix the dry ingredients with a whisk or spoon to evenly distribute the salt. Even distribution of salt is important for controlling fermentation.
Ingredients:
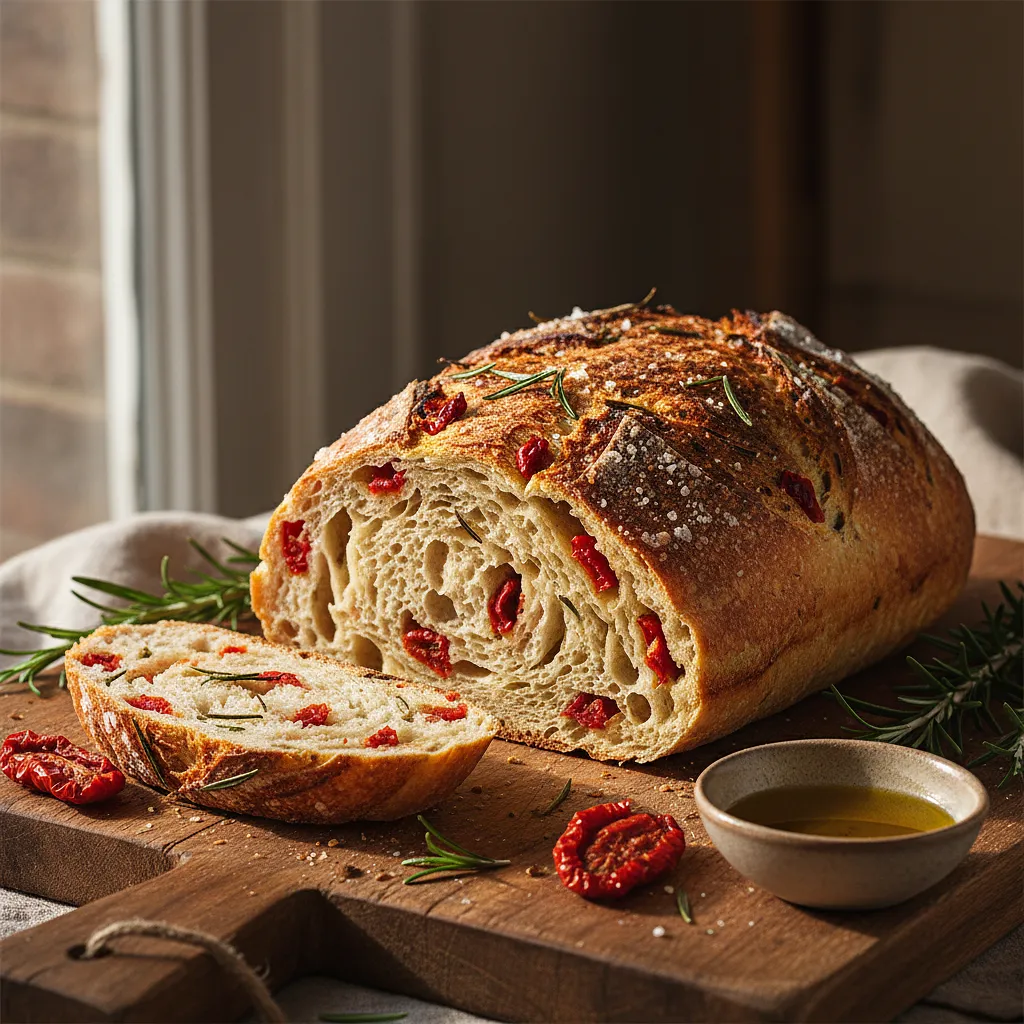
Bread flour type 750, Salt, Nutritional yeast flakes
Use a bowl with a capacity of at least 4 liters, as the dough will rise significantly. Sifting the flour will aerate it, contributing to a lighter bread structure.


Comments (0)
Be the first to comment on this recipe!
Add a comment