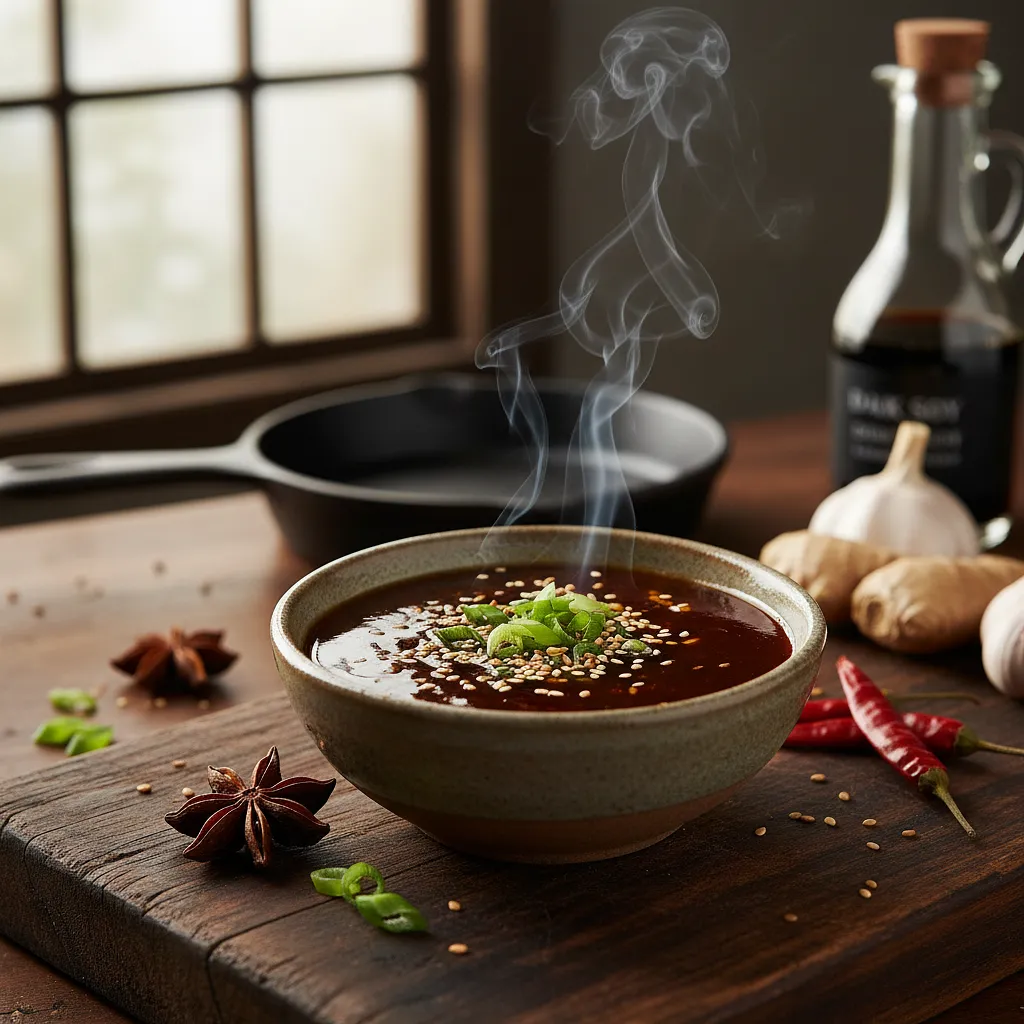
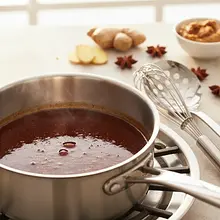
Prepare the garlic. Take two cloves, lay them flat on a cutting board and smash them with the flat side of a wide knife. This will make it easier to remove the skin. Remove the skin, cut off the hard end, and chop the garlic very finely. You can also press it through a garlic press to get a smooth paste.
Description
Discover the secret to the perfect hoisin sauce, which is the heart of many Asian dishes. This recipe is a unique, homemade version that surpasses store-bought alternatives in depth and complexity of flavor. Instead of traditional soy paste, we use a combination of Japanese miso paste for intense umami and creamy peanut butter, which adds a velvety texture and subtle sweetness. The sauce features the perfect balance between salty, sweet, sour, and spicy flavors, and the addition of five-spice powder introduces exotic, spicy notes. It is thick, glossy, and has a beautiful, deep mahogany color. It works wonderfully as a marinade for meats and tofu, a glaze for ribs, a dipping sauce for spring rolls or Peking duck, and as a base for stir-fry dishes.
Ingredients Used
Ingredients (11)
- Dark miso paste 4 łyżki (~60 g)
- Dark soy sauce 3 łyżki (~45 g)
- Rice vinegar 30 ml
- Maple syrup 45 ml
- Garlic 2 ząbki (~10 g)
- Toasted sesame oil 1 łyżeczka (~5 g)
- Water 60 ml
- Peanut butter 60 g
- 🌿 Przyprawy
- Five spice powder 1 łyżeczka (~2 g)
- ✨ Opcjonalne
- Chili flakes 1 szczypta (~1 g)
- Liquid smoke 1 g
💡 Kliknij na składnik aby oznaczyć jako użyty
Preparation steps
Preparation of the flavor base
In a medium-sized bowl, combine all the ingredients except for the sesame oil and optional toppings. Add the miso paste, peanut butter, soy sauce, rice vinegar, maple syrup, prepared garlic, five-spice powder, and water. Using a small whisk or fork, vigorously mix everything for about 1-2 minutes. The goal is to achieve a completely smooth, uniform paste without any lumps of peanut butter or miso.
Cooking and reducing the sauce
Pour the smooth mixture into a small saucepan with a thick bottom. Place it on the stove over low heat. Heat the sauce, stirring constantly with a silicone spatula or wooden spoon to prevent sticking and burning on the bottom.
Bring the sauce to a very gentle boil – small, lazy bubbles should appear on the surface. Reduce the heat to the minimum and cook (reduce) the sauce for 5-7 minutes, stirring constantly. The sauce should clearly thicken and acquire a beautiful shine. Its consistency should resemble that of a thin ketchup. Remove the saucepan from the heat.
When you remove the sauce from the heat, stir in the sesame oil. If you want, now is the time to add optional ingredients: chili flakes for heat or a few drops of liquid smoke for a deeper aroma. Mix thoroughly and set the sauce aside to cool completely.
Storage
After completely cooling, transfer the sauce to a clean, sterilized jar. Seal tightly and store in the refrigerator. The sauce is ready to use immediately, but its flavor will become even deeper and more harmonious after 24 hours.
Fun Fact
The name 'hoisin' (海鮮) in Cantonese literally means 'seafood'. Interestingly, traditional hoisin sauce does not contain any seafood ingredients. The name likely originated from the fact that it was originally used in southern China as a dip for seafood dishes.
Best for
Tips
Serve as a dip for fresh or fried spring rolls, dumplings, and vegetables. Use as a glaze for baked ribs, chicken, or tofu during the last 10 minutes of baking. Add 2-3 tablespoons to the wok at the end of frying to create an instant sauce for stir-fry dishes. It is also an essential addition to a Banh Mi sandwich or Bao buns.
Store the sauce in a tightly sealed jar in the refrigerator. When stored properly, it will retain its freshness and flavor for 2-3 weeks. Over time, it may thicken even more - if necessary, it can be diluted with a little water before use.
📸 Ugotowane przez społeczność
Zaloguj się, aby dodać zdjęcieDodaj zdjęcie gotowej potrawy
Po zatwierdzeniu przez moderatora otrzymasz 10 punktów doświadczenia.
Nikt jeszcze nie dodał zdjęcia. Bądź pierwszy!
Comments (0)
Be the first to comment on this recipe!
Add a comment