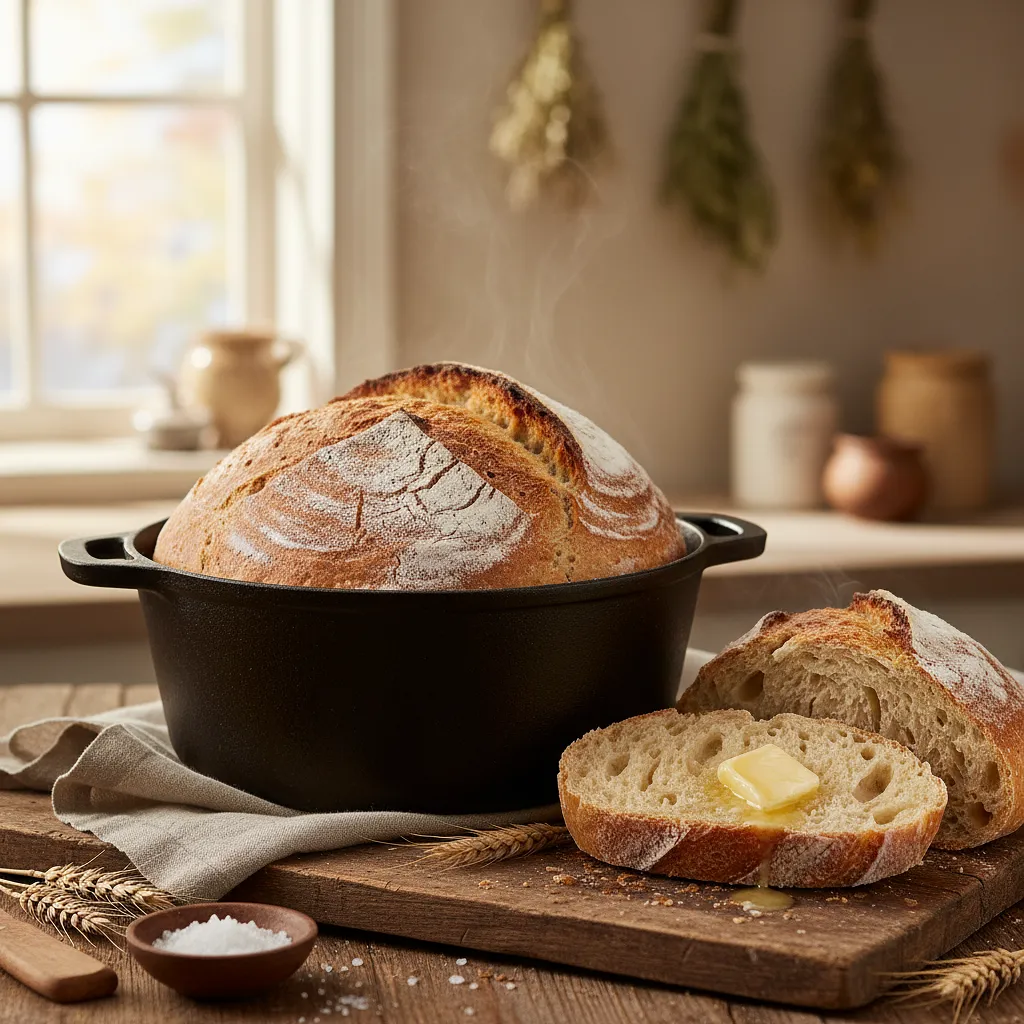
In a large bowl (with a capacity of at least 4 liters, the dough will rise!), combine the dry ingredients. Add the bread flour, whole wheat flour, instant yeast, and salt. Using a large spoon or a whisk, mix everything thoroughly for about 30 seconds. The goal is to evenly distribute the yeast and salt in the flour, which will ensure even rising of the bread.
Description
Here's a recipe that will change your perception of homemade bread. Buttermilk pot bread is the essence of simplicity and excellent flavor. Thanks to the no-knead method and long overnight fermentation, the dough naturally develops a deep, slightly nutty flavor and an incredible texture. The addition of buttermilk makes the crumb extremely moist, tender, and has a subtly tangy note that perfectly balances the sweetness of the bread crust. Baking in a preheated cast-iron pot creates steam that acts like a professional bakery oven, ensuring a spectacularly crispy, golden-brown, and cracked crust that 'sings' loudly while cooling. This bread is not just food; it's a whole experience – from the aroma wafting through the house to the satisfaction of slicing the first warm piece. Perfect for a lazy breakfast with butter and honey, as an accompaniment to soups and salads, or as a base for gourmet sandwiches.
Składniki (7)
- Bread flour type 750 400 g
- Whole wheat flour type 1850 100 g
- Instant yeast 2 g
- Buttermilk 380 ml
- 🌿 Przyprawy
- Sól drobnoziarnista 2 łyżeczki
- ✨ Opcjonalne
- Liquid honey 21 g
- Sunflower seeds 50 g
💡 Kliknij na składnik aby oznaczyć jako użyty
Preparation steps
Preparing the dough
Pour the buttermilk at room temperature into the bowl with the dry ingredients. If you are using honey, add it now. Using a wooden spoon or silicone spatula, mix the ingredients just until they come together into a uniform, sticky, and fairly loose mass. There should be no visible dry lumps of flour. Do not knead the dough! Mixing should take no more than 1-2 minutes. The dough will look 'unfinished' and very sticky - this is exactly the effect we are looking for.
First rising (long fermentation)
Cover the bowl tightly with plastic wrap or a shower cap and set it in a warm place, free from drafts, for 12 to 18 hours. The ideal temperature is around 21-23°C. After this time, the dough should at least double in volume, be full of air bubbles on the surface, and have a slightly alcoholic smell. This is a sign that fermentation has proceeded successfully and the gluten has developed.
Shaping the loaf
Dust the countertop or work surface generously with flour. Using an oiled spatula or a special dough scraper, gently remove the risen, fluffy dough from the bowl onto the surface. It will be very sticky and delicate. Lightly dust the top of the dough with flour to prevent it from sticking to your hands.
Now we will build the structure of the dough. Gently stretch it on the countertop into a rectangle. Fold the dough like a letter: first bring the top 1/3 to the center, then the bottom 1/3 on top. Next, turn the dough 90 degrees and repeat the folding: bring the right 1/3 to the center, then the left 1/3 on top. If you are using sunflower seeds, sprinkle them on the dough before folding. This simple folding replaces traditional kneading.
Second rising
After shaping, turn the dough seam side down. Gently form it into a nice ball by tucking the edges underneath and rotating the dough on the countertop. Generously dust a clean bowl or a special bread rising basket (banneton) with flour (preferably rice flour, which doesn't burn). Transfer the shaped loaf to the basket, seam side up.
Cover the dough basket with a cloth and set it aside for the second rise in a warm place for about 1.5 - 2 hours. The dough is ready when it has clearly risen and become fluffy. You can check this with the 'finger test': gently press the surface of the dough with a floured finger. If the indentation slowly springs back, the dough is ready. If it springs back immediately – it needs more time. If it collapses – it has over-proofed.
Baking
About 45 minutes before the end of the second rising, place a covered cast iron pot (4-5 liters capacity) in the oven and preheat the oven to 230°C (convection). The pot must be Hellishly hot – that's the secret to a crispy crust.
Carefully remove the hot pot from the oven and take off the lid. Gently transfer the risen loaf from the basket to the pot (you can turn the basket upside down over the pot, and the dough will fall in on its own). If you like, you can now score the top of the bread with a very sharp knife or razor to a depth of about 1 cm. This will allow it to crack in a controlled manner while baking.
Cover the pot with a lid, place it in the oven, and bake for 30 minutes. During this time, the water from the dough evaporates, and the closed lid traps the steam inside, creating ideal conditions for rising and forming a crispy crust. After 30 minutes, carefully remove the lid and continue baking for another 15-20 minutes, until the bread has a deep golden-brown color.
Cooling
Using gloves, remove the pot from the oven. Carefully take the baked loaf out of the pot and transfer it to a metal rack to cool completely, which will take at least 1-2 hours. This is an absolutely crucial step! The hot bread is still 'baking' inside, and cutting it too early will result in a gummy and undercooked crumb.
Fun Fact
The 'no-knead' bread baking method was popularized in 2006 by Jim Lahey, a baker from New York's Sullivan Street Bakery. His recipe, published in The New York Times, revolutionized home baking by proving that no specialized equipment or strength is needed to bake artisan-quality bread.
Best for
Tips
It tastes best when still slightly warm, with a thick layer of real butter melting on the porous crumb. It pairs wonderfully with homemade jams, honey, but also as a base for sandwiches with avocado and egg. Try serving it as a side to creamy tomato soup or thick autumn stew to scoop up every drop of sauce from the plate.
Bread is best stored wrapped in a linen or cotton cloth at room temperature, which allows the crust to breathe and stay crispy. Avoid plastic bags, as they make the crust become rubbery. Bread will stay fresh for 2-3 days. To refresh it, lightly sprinkle with water and place in an oven preheated to 180°C for 5-7 minutes.
📸 Ugotowane przez społeczność
Zaloguj się, aby dodać zdjęcieDodaj zdjęcie gotowej potrawy
Po zatwierdzeniu przez moderatora otrzymasz 10 punktów doświadczenia.
Nikt jeszcze nie dodał zdjęcia. Bądź pierwszy!
Comments (0)
Be the first to comment on this recipe!
Add a comment