Prepare the ingredients and tools: measure out the flour, cocoa powder, sugar, and baking powder. Take the butter out of the fridge for 10–15 minutes to soften slightly (it should be cold but pliable). Preheat the oven to 175°C (top and bottom heat). Prepare a large bowl, a whisk or mixer with a spatula, a rolling board, a rolling pin, and baking paper.
Description
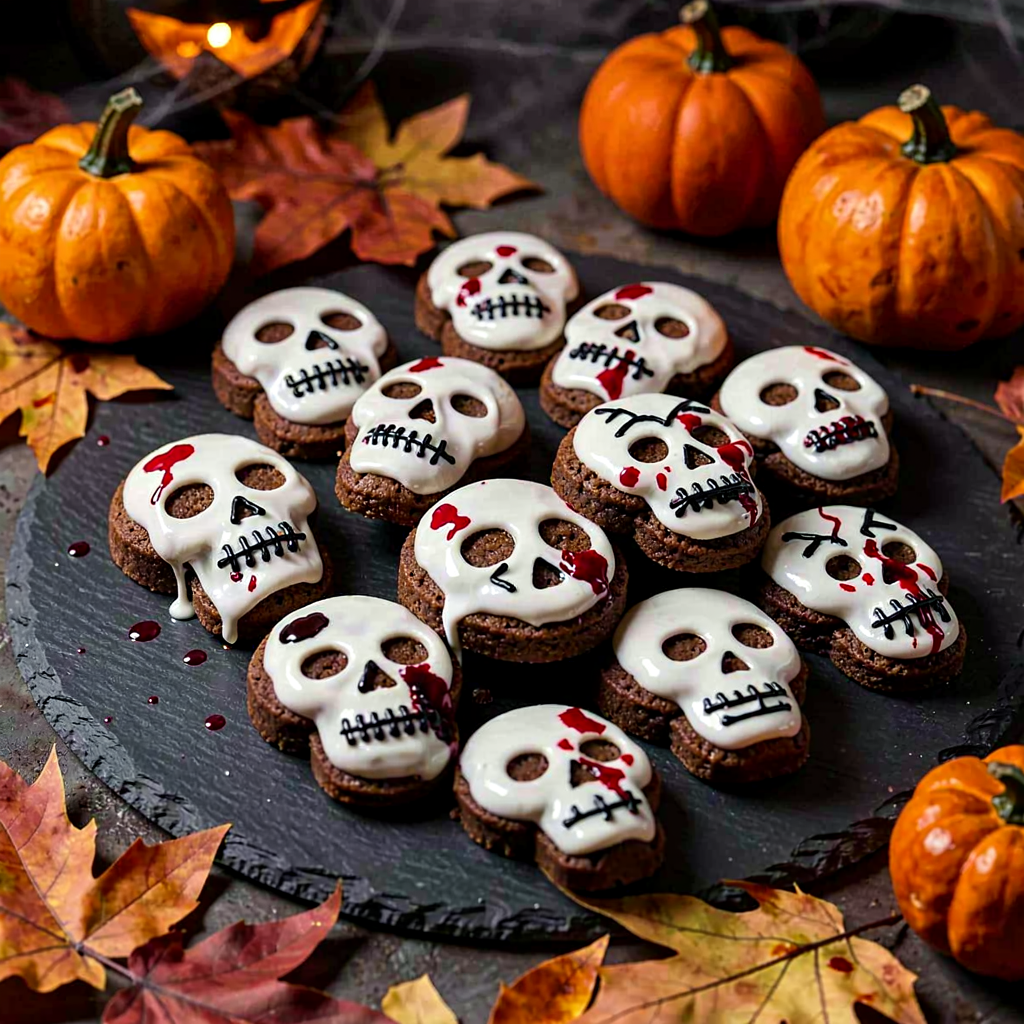
Crispy skull-shaped cookies are a Halloween treat that combines classic buttery shortcrust pastry with a slightly bitter cocoa accent and sweet, shiny royal icing. The recipe yields impressive black and red decorations resembling skulls and facial features — perfect for a Halloween party, a snack box, or as a sweet table decoration. The cookies are crunchy on the edges and softer in the middle; easy to prepare even for someone who has never made cookies before: the step-by-step description explains the choice of ingredients, kneading the dough, rolling, cutting shapes, and preparing and applying the icing.
Ingredients Used
Ingredients (13)
- Wheat flour 360 g
- Butter 200 g
- Sugar 120 g
- Chicken egg 1 pcs (~60 g)
- Cocoa 30 g
- Baking powder 6 g
- Powdered sugar 200 g
- Egg white 30 g
- Lemon juice 10 ml
- Vanilla extract 5 g
- 🌿 Spices
- Salt 1 g
- ✨ Optional
- Black food coloring 2 g
- Red food coloring 2 g
💡 Click an ingredient to mark it as used
Preparation steps
Cake
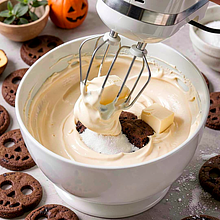
In a large bowl, cream the butter with the sugar. Place the cold butter cut into pieces in the bowl, add the sugar, and beat with a mixer on medium speed for 2–3 minutes until the mixture becomes light and fluffy. If you are beating by hand, use a wooden spoon and vigorously mix for about 4–5 minutes.
Add the egg and vanilla extract. Crack the whole egg into the butter-sugar mixture, add the vanilla extract, and mix for 30–45 seconds just until combined — the mixture should be smooth, do not overbeat.
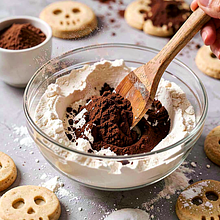
In a separate bowl, sift the flour, cocoa powder, baking powder, and salt. Sifting breaks up clumps and aerates the flour, which will make the cookies more delicate. After sifting, combine the dry ingredients with the butter mixture: add in 1/3 at a time and mix with a spatula or on the lowest speed of the mixer until the ingredients are combined, do not overmix.
Shape the dough into a disk, wrap it in plastic wrap, and chill in the refrigerator for 30–45 minutes. Chilling makes rolling easier and prevents the dough from spreading during baking.
Baking
Preheat the oven to 175°C if it is not already heated. Take the dough out and place it on parchment paper; roll it out between two sheets of paper to a thickness of 3–4 mm. If you don't have parchment paper, lightly sprinkle the countertop with flour and turn the dough while rolling to prevent it from sticking.
Cut out skull shapes using a cookie cutter. If you don't have a cutter, draw a skull template on paper, place it on the dough, and cut out with a small knife. Transfer the cookies to a baking sheet lined with parchment paper, leaving 2–3 cm of space between them. With the leftover dough, form a disk again, chill for 10 minutes, and repeat the rolling.
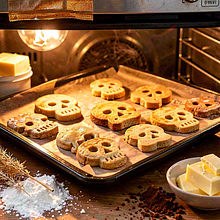
Baking: place the tray in the preheated oven and bake for 10–12 minutes at 175°C. Watch the cookies — the edges should be slightly browned, while the center remains light. After baking, leave them on the tray for 2–3 minutes, then transfer to a metal rack to cool completely (about 20–30 minutes).
Icing and decoration
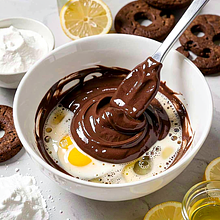
Prepare royal icing: in a clean, fat-free bowl, beat the egg white until slightly frothy (about 15–20 seconds). Gradually add the sifted powdered sugar — start mixing slowly, then faster, until a thick, glossy icing forms. Add lemon juice (10 ml) and mix. The consistency for outlines should be thick (like paste), while for filling it should be slightly thinner — add a few drops of water and mix until it flows like thick honey.
Divide the icing into 3 parts in small bowls: a large white part for fillings, a small part colored with black dye for outlines and details, and a very small part colored with red dye for 'blood'. Add the dye drop by drop or pinch by pinch and mix well. Place each icing into a piping bag or a ziplock bag, and cut a thin tip.
Decorating cookies: first, outline a thin black line around the skull's contour (this will create a 'dam' for the filling). Next, fill the interior with white icing using a brush or droplets from a piping bag, spreading a thin layer. Use a toothpick to evenly distribute the icing and remove air bubbles. Finally, add black details (eye sockets, teeth) and droplets of red icing as 'blood'. Set aside to harden for 2–3 hours (the icing hardens on the surface after about 30–60 minutes, but full hardening takes longer).
Serving
Once the icing has completely set, arrange the cookies on a platter or in a cardboard box lined with baking paper. Decorate with natural Halloween elements: leaves, mini pumpkins, or twigs, but do not place decorations directly on the icing until it has hardened.
Fun Fact
Royal icing has been used since the 19th century to decorate cookies and cakes — the name comes from its elegant, shiny finish, which was associated with royal event decor.
Best for
Tips
Serve on a dark plate or board with black baking paper to contrast the white and black elements. Hot tea with ginger or cinnamon pairs well with the cookies, as does hot chocolate with a hint of chili for adults.
Store the cookies in an airtight container at room temperature for up to 5 days. Place parchment paper between layers to avoid damaging the decorations. The icing may soften in a humid climate — to refresh the crispness, gently warm in the oven for 3–4 minutes at 120°C (note: not for cookies with very delicate decorations).
📸 Cooked by the community
Log in to add a photoAdd a photo of the finished dish
After moderator approval, you will receive 10 experience points.
No one has added a photo yet. Be the first!
Comments (0)
Be the first to comment on this recipe!
Add a comment