


Start by thoroughly washing the mango under running, cool water. Dry it with a clean paper towel or cloth. This step is important to remove any impurities from the skin that could get into the flesh while peeling.
Ingredients:
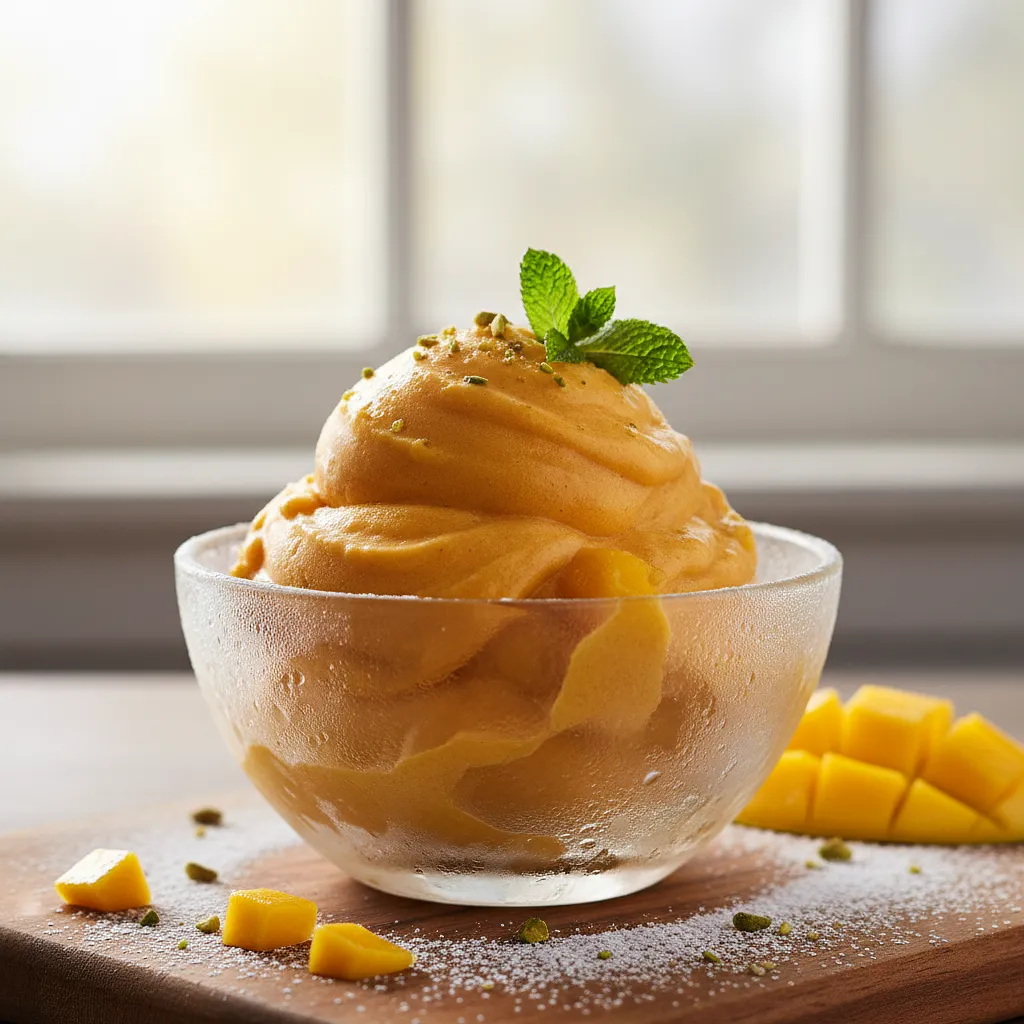
Ripe mango
Use a vegetable brush to gently scrub the skin of the mango if you have any doubts about its cleanliness. Always wash fruits before peeling.


Comments (0)
Be the first to comment on this recipe!
Add a comment