Recipe for: Cheesecake Balls in Chocolate (Halloween)

Snacks halloween Desserts 60 min Easy 0 views ~36.28 PLN - (0)
Rate:
(0)
Start Cooking

Description

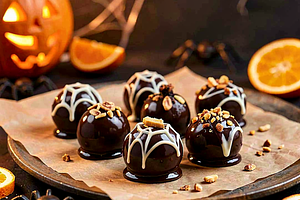
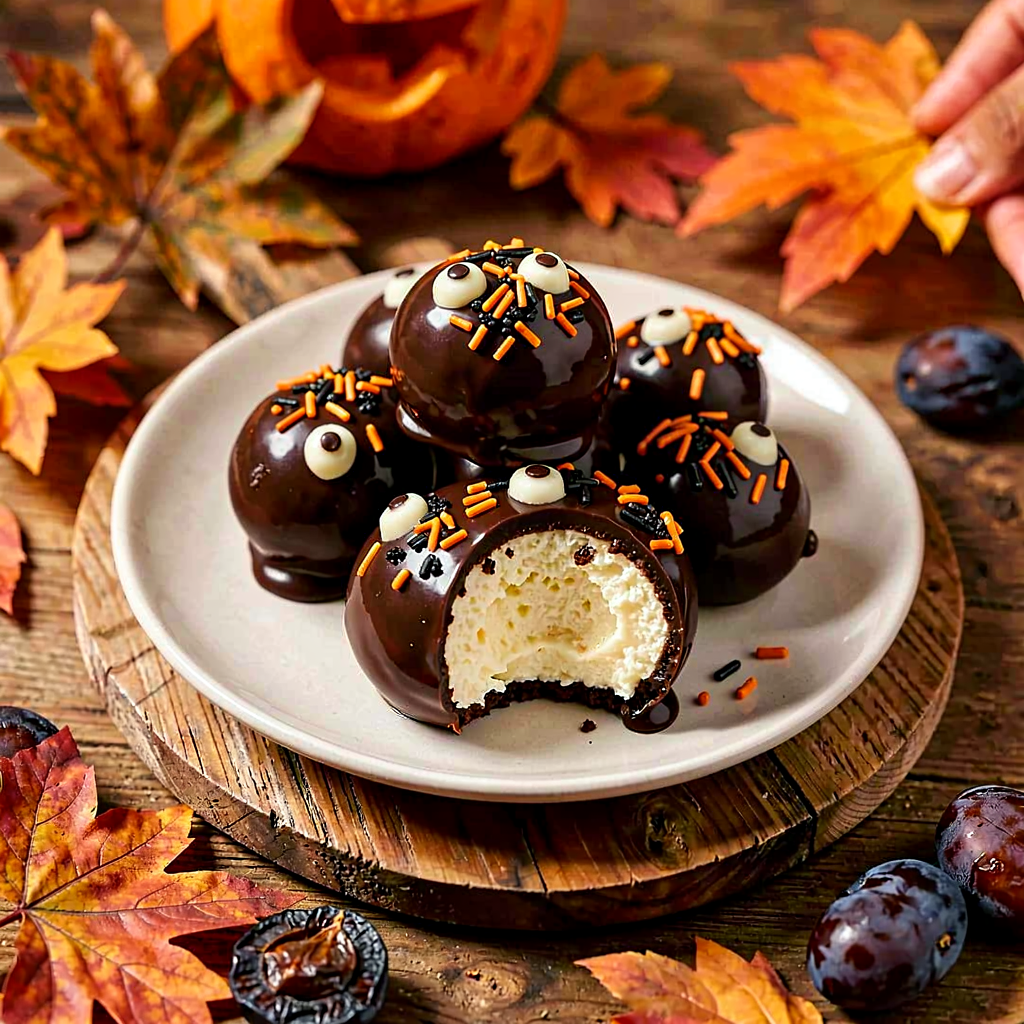
Cheesecake balls in chocolate are small, impressive snack-desserts perfect for a Halloween party. The base consists of Polish twaróg and crunchy biscuits, combined with butter and powdered sugar to create a thick, moldable mass like a traditional no-bake cheesecake. The balls are coated in dark chocolate, and for a Halloween vibe, you can add white "eyes" made from white chocolate or orange sprinkles (pumpkin twist). The dish combines the creamy texture of cheesecake with the crunchy interior of the cookies and an intense chocolate flavor, pairing well with coffee, cocoa, or as finger food at a party. I suggest using seasonal additions, such as chopped dried plums for an autumn aroma. The recipe is accessible for beginners, described step by step with techniques for shaping and tempering chocolate.

Ingredients Used

Ingredients (11)

Servings:
12
  • Cottage cheese 300 g
  • Biscuits 150 g
  • Butter 50 g
  • Powdered sugar 60 g
  • Dark chocolate 200 g
  • Sour cream 30 g
  • Rapeseed oil 15 g
  • 🌿 Spices
  • Cinnamon 4 g
  • Salt 1 g
  • ✨ Optional
  • Dried plum 60 g
  • White chocolate 50 g
💰 Estimated dish cost: ~36.28 PLN (3.02 PLN/serving)

💡 Click an ingredient to mark it as used

Preparation steps

Cheese filling

1

Prepare the cottage cheese: if you are using grainy cottage cheese, transfer it to a bowl and press it through a sieve using a spatula or blend it with an immersion blender for 20–30 seconds on low speed until the mixture is smooth and creamy. Smooth cottage cheese provides a better texture for the balls.

Ingredients: Cottage cheese
Use a sieve with large holes or an immersion blender. If the mixture is too watery, drain it in cheesecloth over a sieve for 15–20 minutes.
2

Crush the biscuits: place the cookies in a ziplock bag and roll with a rolling pin until you have a fine, even crumb (about 2–3 minutes) or use a food processor in pulses for 10–15 seconds. Transfer the crumb to a large bowl.

If you don't have a rolling pin, use the bottom of a bottle or a pestle. Don't leave large pieces; the mixture should be uniform so that the balls don't fall apart.
3

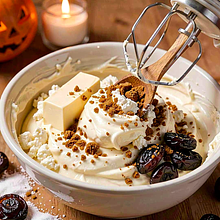
In a bowl with the cottage cheese, add the soft butter and powdered sugar. Use a wooden spoon or a hand mixer with a mixing attachment and mix on low speed for 1–2 minutes until the ingredients are combined. Add the cinnamon and a pinch of salt, then gradually sprinkle in the crushed biscuits. If you are using dried plums, chop them finely with a knife and add them now. Mix by hand with a spatula until a thick, sticky mass forms that can be shaped into balls.

Ingredients: Cottage cheese, Butter, Powdered sugar, Cinnamon, Salt, Dried plum
Use a mixer if you have one, but do not mix for too long — just enough for the mixture to be homogeneous and slightly pliable. Check the consistency: if it's too loose, add a few tablespoons of crumble; if it's too dry, add a teaspoon of cream.

Cooling the mixture

4

Cover the bowl with plastic wrap and place it in the refrigerator for 20–30 minutes to allow the mixture to thicken slightly — this will make it easier to form balls and prevent the mixture from sticking.

Ingredients: Cottage cheese
Use an airtight cover so the mixture doesn't absorb the odors from the fridge. Cooling is important — the mixture should be cool but still pliable.

Shaping

5

Take the mixture out of the fridge. Scoop out portions the size of a walnut (about 25–30 g each) and shape them into even balls with your hands. Lightly wet your hands with water or sprinkle them with a bit of crumble to prevent the mixture from sticking. Arrange the finished balls on a baking sheet lined with parchment paper in a single layer, leaving some space between them.

Ingredients: Cottage cheese
Use disposable gloves if you don't want to dirty your hands. If the mixture is very sticky, chill it for an additional 10 minutes.

Chocolate glaze

6

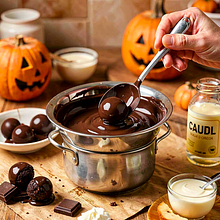
Prepare the glaze: place broken dark chocolate in a metal bowl. Set the bowl over a pot of gently boiling water (water bath). Add the cream and rapeseed oil. Stir slowly with a silicone spatula until the chocolate melts evenly and is smooth (about 4–6 minutes). Avoid letting the edges of the bowl come into contact with the steam or allowing any water droplets to get into the chocolate — this will cause it to seize.

Ingredients: Dark chocolate, Sour cream, Rapeseed oil
Use a wide metal bowl and a pot with a low steam intensity. The temperature of the bath should not be high — the chocolate should melt slowly. If you are using a microwave: heat the chocolate for 20–30 seconds, stir, and repeat, not exceeding 50°C.

Coating and Decoration

7

Dip the balls in the coating one by one: pierce a ball with a fork or two forks, dip and twist, allowing the excess chocolate to drip back into the bowl (about 5–10 seconds per ball). Place the coated balls on parchment paper. If you are using white chocolate for decoration, melt it in a separate bowl (microwave 10–15 s, stir). Use a small spoon or a bag with a corner to draw eyes, spiders, or threads on top. Additionally, you can sprinkle chopped pistachios, orange sprinkles, or pieces of dried plum for an autumn effect.

Ingredients: White chocolate, Dark chocolate, Dried plum
It's best to work quickly so that the chocolate doesn't harden on the surface of the bowl. For decoration, use a piping bag with a small opening or a plastic bag, cutting off a minimal corner.

Final cooling

8

Place the coated balls in the refrigerator for 15–30 minutes, until the coating completely sets. Once the coating has set, the balls will have a nice hard shell and a creamy interior.

Ingredients: Dark chocolate
Arrange the balls in a single layer. If you plan to store them for a longer time, keep them in an airtight container in the refrigerator for up to 3 days.

Serving

9

Before serving, take the balls out of the fridge for 10–15 minutes so the inside isn't too cold. Arrange on a platter, serve with Halloween decorations: mini lollipop ghosts, small cards with flavor names, or "eyes" made of white chocolate and chocolate drops.

Ingredients: Cottage cheese, Dark chocolate, White chocolate
Serve on a flat platter lined with parchment paper for easier lifting of the balls. The balls look great grouped in sets of 3-4 with tied black ribbons on the party plate.

Fun Fact

💡

Mini cheesecake balls are a variation of no-bake cheesecake popular in the Anglo-Saxon version (cheesecake bites), but replacing cream cheese with twaróg refers to the Polish tradition of twaróg cheesecakes.

Best for

Tips

🍽️ Serving

Serve the balls slightly chilled, with fresh seasonal fruits (e.g. slices of pear) or with a cup of strong coffee. For children, create fun decorations with white chocolate and colorful sprinkles.

🥡 Storage

Store in an airtight container in the refrigerator for up to 3 days. Do not freeze — thawed items will change consistency. If the chocolate loses its shine, gently warm it at room temperature before serving.

📸 Cooked by the community

Log in to add a photo
Add a photo of the finished dish

After moderator approval, you will receive 10 experience points.

🍲

No one has added a photo yet. Be the first!

Comments (0)

Be the first to comment on this recipe!

Add a comment

You might also like

Recipe Categories

Snacks
Snacks in: Christmas Eve Dinner

Snacks are small pleasures between meals - savory, sweet, and always delicious. Vegetable chips, seasoned popcorn, and roasted nuts - healthy alternatives. Dips and spreads: hummus, guacamole, tzatziki, and baba ghanoush with vegetables. Skewers, canapés, and finger sandwiches for a party - elega...

See all recipes in this category

Halloween is a time when culinary traditions take on a dark and mysterious character. It's an opportunity for fun, creativity, and experimentation in the kitchen, where dishes take on unusual forms. In many countries, children dressed as ghosts and monsters run from door to door collecting candy,...

See all recipes in this category
Desserts
Desserts in: halloween

Scary but delicious desserts that will delight any sweet tooth.

See all recipes in this category
Advertisement