Menu

Fluffy Genoise Sponge Cake - Secrets to the Perfect Bake

Cakes and Bakes Desserts Dishes for Special Occasions 90 min Medium 16 wyświetleń ~4.37 PLN - (0)
Rate:
(0)

Description

Here is a recipe for an absolutely fundamental baked good in pastry – Genoise sponge. Its magic lies in achieving an extraordinary lightness and fluffiness without using a gram of baking powder or soda. The whole secret is in the technique: patiently beating whole eggs with sugar over a warm water bath. This process incorporates millions of air bubbles into the mixture, which act as a natural leavening agent. As a result, we get a cake with a delicate, springy texture and a subtle, buttery flavor. It is the perfect base for cakes, cream-filled pastries, and desserts like tiramisu. Its neutral taste pairs wonderfully with syrups, soakings, and all kinds of creams. It may look modest, but its perfect execution is a testament to pastry craftsmanship.

Składniki (9)

Servings:
8
  • Chicken egg (size L) 4 szt.
  • Cukier drobny do wypieków 8 łyżek
  • Mąka pszenna tortowa (typ 450) 120 g
  • Butter (min. 82% fat) 30 g
  • Butter for greasing the pan 10 g
  • Breadcrumbs for dusting the pan 1 łyżka
  • 🌿 Przyprawy
  • Salt 0.0 szczypt
  • ✨ Opcjonalne
  • Vanilla extract 5 g
  • Skórka otarta z cytryny 2 g
💰 Szacowany koszt dania: ~4.37 PLN (0.55 PLN/porcję)

💡 Kliknij na składnik aby oznaczyć jako użyty

Preparation steps

Preparing the pan and ingredients

1

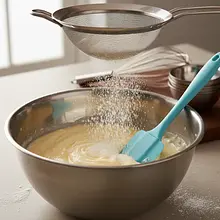
Start by preparing a 24 cm diameter springform pan. Cut a piece of parchment paper and line just the bottom of the pan with it. Then, using a pastry brush, thoroughly coat the sides of the pan with a thin layer of softened butter. Pour breadcrumbs into the pan and tilt it to evenly coat the entire sides. Shake out the excess breadcrumbs. Set the prepared pan aside. Preheat the oven to 170°C with the top and bottom heating function.

Ingredients: Butter for greasing the pan, Breadcrumbs for dusting the pan
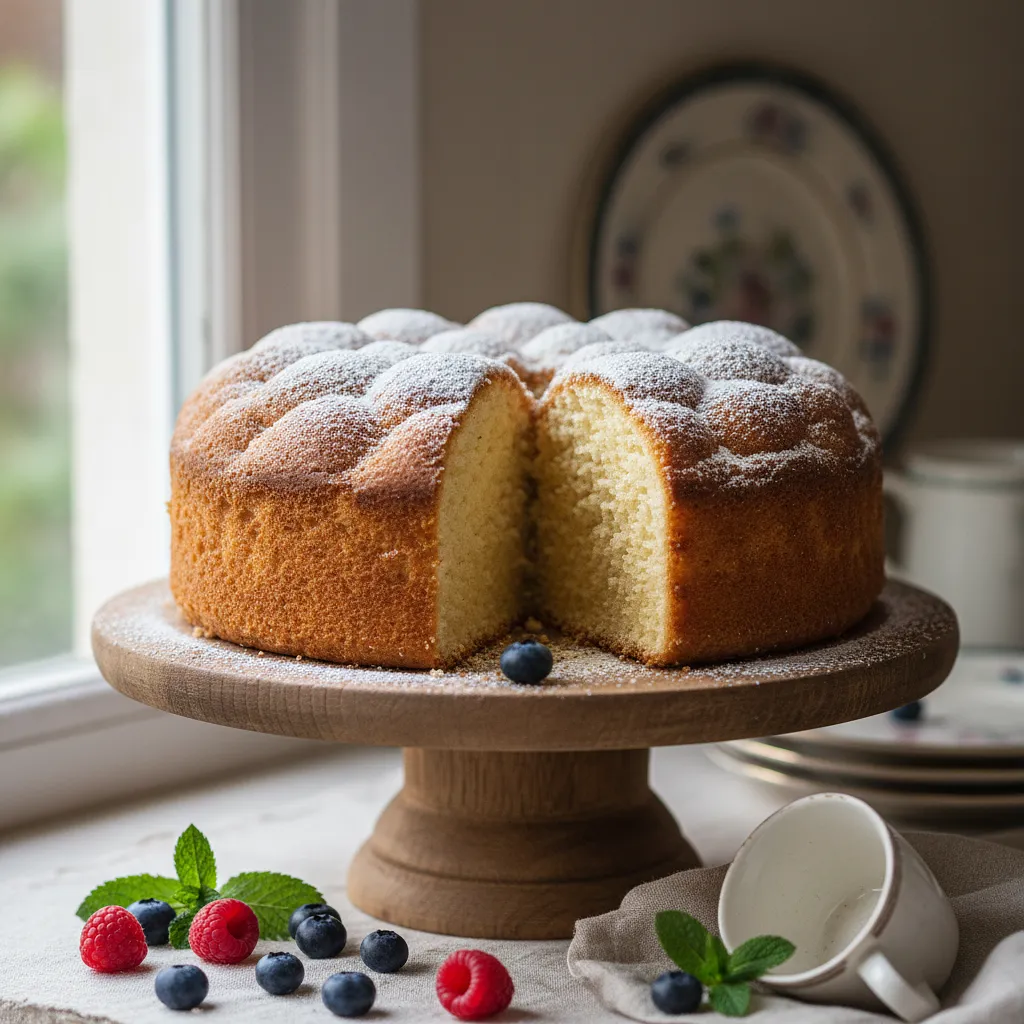
It is best to use a springform pan. Proper preparation of the pan is crucial for the sponge to rise evenly and be easy to remove. Do not grease the bottom with butter, just line it with parchment paper - this way the cake will 'stick' to the bottom and not sink after baking.
2

In a small saucepan over the lowest heat, melt the butter (30g) and set it aside to cool. It should be liquid but not hot. Sift the all-purpose flour three times into a separate bowl. You can do this using a fine-mesh sieve. This step aerates the flour, which is extremely important for the lightness of the sponge cake.

Ingredients: Butter (min. 82% fat), Mąka pszenna tortowa (typ 450)
Sifting flour is not a step that can be skipped! Each sifting adds air to it. If you don't have a sifter, you can use a whisk and vigorously 'beat' the flour in the bowl for a minute.

Whipping the egg mixture (Key step)

3

Prepare a water bath. Pour water into a pot to a height of about 3-4 cm and bring it to a gentle simmer (small bubbles should appear, but the water should not be boiling vigorously). Place a metal or glass bowl on top of the pot that fits in size so that its bottom does not touch the surface of the water. Crack whole eggs into the bowl, add sugar and a pinch of salt.

Ingredients: Chicken egg (size L), Cukier drobny do wypieków, Salt
Make sure the bowl is perfectly clean and dry. Any traces of fat can prevent the eggs from whipping properly. A water bath is needed to gently warm the eggs, which dissolves the sugar and softens the proteins, allowing them to absorb more air.
4

Place a bowl with eggs and sugar over a pot of steaming water. Using a hand whisk, continuously mix the mixture for about 4-5 minutes. The goal is to heat it to a temperature of about 40-45°C (it should feel noticeably warm to the touch) and to completely dissolve the sugar. You can check this by rubbing a bit of the mixture between your fingers - there should be no sugar crystals felt.

Ingredients: Chicken egg (size L), Cukier drobny do wypieków
Do not stop stirring, otherwise the eggs may curdle at the bottom of the bowl, creating scrambled eggs. Do not overheat the mixture, as it will lose its properties. If you have a candy thermometer, use it for precision.
5

Remove the bowl from the pot and immediately start beating the mixture with a mixer on the highest speed. Beat for about 8-10 minutes. The mixture should triple in volume, become very thick, fluffy, and light cream-colored. When properly whipped, the mixture should flow from the mixer beaters in a thick, continuous ribbon that remains on the surface for a few seconds before dissolving. This is called the 'ribbon test'. At the end of whipping, optionally add vanilla extract or lemon zest.

Ingredients: Vanilla extract, Skórka otarta z cytryny
This is the most important step! Do not shorten the whipping time. Patience will be rewarded with an incredibly fluffy cake. It's best to use a stand mixer, but a hand mixer will work too. 'Ribbon test' is your indicator of success.

Combining ingredients

6

Add 1/3 of the sifted flour to the whipped egg mixture. Using a large silicone spatula, very gently fold the flour into the mixture, making motions from the bottom, through the center, and to the top. Rotate the bowl while mixing. The goal is to deflate the fluffiness of the mixture as little as possible. Repeat the process two more times, adding 1/3 of the flour each time. Mix only until the ingredients are combined.

Ingredients: Mąka pszenna tortowa (typ 450)
The mixing technique is key. Imagine that you are 'folding' the batter, not mixing it. Do not use a mixer at this stage! It would destroy the airy structure that you have built up for so long. A few lumps of flour are better than a deflated batter.
7

To the cooled, melted butter, add 2-3 tablespoons of the prepared mixture and mix vigorously in a small bowl. This will 'temper' the butter and make it easier to combine with the rest of the dough. Then pour this butter-egg mixture into the main bowl with the dough. Again, very gently fold in the butter using a spatula, making folding motions until you achieve a uniform consistency.

Ingredients: Butter (min. 82% fat)
Do not pour the butter directly into the beaten eggs, as the heavier ingredient will sink to the bottom and it will be difficult to mix without losing volume. 'Tempering' the butter with a portion of the mixture is a professional technique that prevents this problem.

Baking and cooling

8

Pour the finished batter immediately into the prepared springform pan. Do this slowly, pouring the batter from a small height to avoid losing its fluffiness. Gently smooth the surface with a spatula. Place the pan in the preheated oven (170°C) and bake for 30-35 minutes.

Do not open the oven for the first 25 minutes of baking, as a sudden change in temperature may cause the sponge cake to collapse. Act quickly after adding the flour and butter, as air bubbles escape from the batter over time.
9

After about 30 minutes, check if the sponge cake is ready. Insert a wooden skewer into the center. If the skewer comes out dry and without traces of raw batter, the sponge cake is ready. If not, bake for another 5 minutes and repeat the test. The baked cake should be golden brown and springy to the touch.

Every oven bakes differently, so the toothpick test is the most reliable method to check the readiness of the cake. A cake that is baked for too short a time will sink in the middle while cooling.
10

Remove the hot pan from the oven. Holding it securely (using oven mitts), drop it flat onto the counter or floor from a height of about 30-40 cm. This thermal 'shock' causes a rapid release of steam and prevents the sponge from shrinking and collapsing. It may seem strange, but it's a proven pastry trick.

Don't be afraid of this step! It's the key to achieving an even, non-sunken sponge cake. Make sure the surface you drop the pan onto is heat-resistant.
11

After 'dropping' the sponge cake, leave it in the pan to cool completely, preferably on a metal rack, which will ensure air circulation from below. Only when the cake is completely cold, gently run a knife along the inner edge of the pan to separate the sides, and then unclip the ring. Remove the paper from the bottom. The sponge cake is ready for further use.

Never cut and soak a warm sponge cake! It is very delicate at that point and will crumble. It's best to bake it the day before, wrap it in plastic wrap, and store it in the fridge. Chilled, it cuts perfectly.

Fun Fact

💡

Genoise sponge cake (Gâteau Génoise) comes from Italy, and its name is derived from the city of Genoa. It was popularized in France in the 19th century and became the basis for many classic cakes, such as Fraisier (strawberry cake). Unlike the classic Polish sponge cake, here whole eggs are whipped together, rather than separating the whites and yolks.

Best for

Tips

🍽️ Serving

Genoise sponge is excellent on its own, simply dusted with powdered sugar and served with a cup of coffee. However, it is most often used as a base for cakes. After slicing it into layers, it should be soaked (e.g., with a punch made from tea, lemon juice, and alcohol), then filled with your favorite cream (e.g., buttercream, custard, whipped cream) and decorated with fresh fruits.

🥡 Storage

A plain sponge cake can be stored at room temperature, tightly wrapped in plastic wrap, for 2-3 days. If you plan to use it later, after it has completely cooled, wrap it double in foil and freeze it. In the freezer, it will stay fresh for up to 3 months. Thaw at room temperature without removing it from the wrap.

📸 Ugotowane przez społeczność

Zaloguj się, aby dodać zdjęcie
Dodaj zdjęcie gotowej potrawy

Po zatwierdzeniu przez moderatora otrzymasz 10 punktów doświadczenia.

🍲

Nikt jeszcze nie dodał zdjęcia. Bądź pierwszy!

Comments (0)

Be the first to comment on this recipe!

Add a comment

You might also like

Recipe Categories

Homemade cakes and pastries are the heart of Polish culinary tradition - sweet memories from childhood. In our collection, you will find recipes for classic yeast cakes, shortcrust, sponge, and cheesecake. Apple pie, poppy seed cake, gingerbread, Easter babka, chocolate cake, and New York cheesec...

See all recipes in this category
Desserts
Desserts in: Christmas Eve Dinner

Desserts are a sweet ending to a meal that brings joy to both children and adults. In this category, we present recipes for a variety of sweets - from simple creams and mousses, to elegant panna cottas, and exquisite fruit tarts. Our desserts include both classics of Polish cuisine - fruit jelly,...

See all recipes in this category

Dishes for special occasions are culinary masterpieces for birthdays, anniversaries, and holidays. Grilled beef steak with herb butter - restaurant quality at home. Beef Wellington - beef in puff pastry with duxelles. Roast duck with apples - a holiday tradition in a new edition. Pink salmon with...

See all recipes in this category
Reklama