


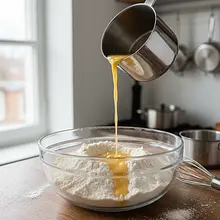
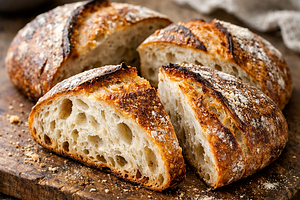
In a large bowl, place all the dry ingredients: rice flour, potato starch, tapioca flour, psyllium husk, instant yeast, and salt. Take a large whisk and mix everything very thoroughly for about a minute. The goal is to ensure the ingredients are evenly combined, especially that the yeast and salt are well distributed. This is crucial for the even rising of the bread.
Ingredients:
White rice flour, Potato starch, Tapioca flour (cassava starch), Psyllium husks, Instant yeast, Sól drobnoziarnista
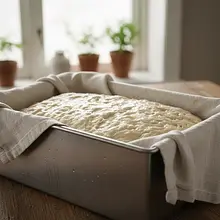
Use a large bowl, at least 4 liters. The dough will rise, so you need space. Thoroughly mixing the dry ingredients prevents lumps and ensures that the bread has a uniform texture.


Comments (0)
Be the first to comment on this recipe!
Add a comment