


Take the butter and eggs out of the fridge 30 minutes in advance so they reach room temperature — this will make it easier to combine the ingredients. Weigh all the dry ingredients into separate bowls: 100 g of flour, 40 g of cocoa, 1 g of salt, and 300 g of sugar. Chop the walnuts into large pieces (not into powder) and set aside. Preheat the oven to 175°C (top-bottom) or 160°C with fan — this will take about 10-15 minutes.
Ingredients:
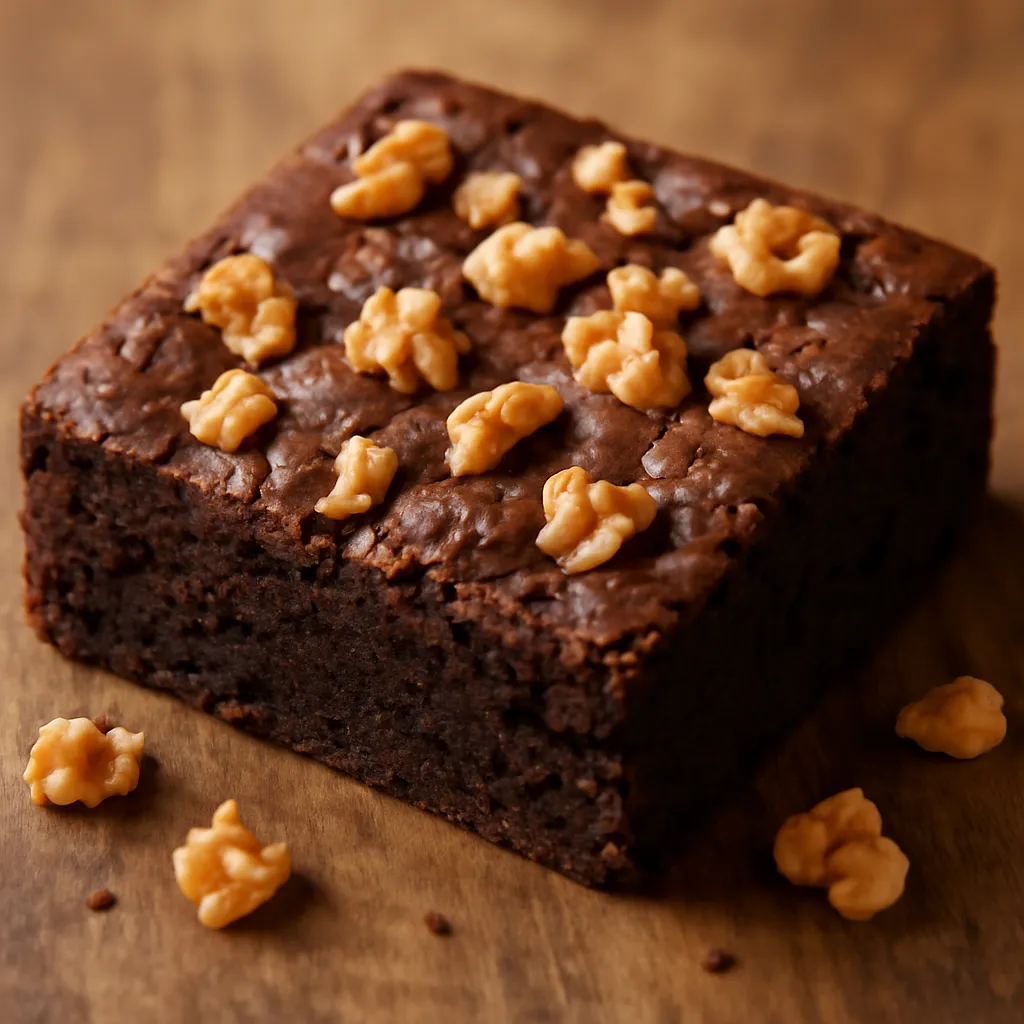
Butter, Chicken egg, Wheat flour, Cocoa, Sugar, Walnuts
Use an accurate kitchen scale. A sharp knife and a stable cutting board are best for chopping nuts. Preheat the oven before you start mixing to ensure a stable baking temperature.


Comments (0)
Be the first to comment on this recipe!
Add a comment