


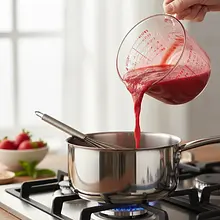
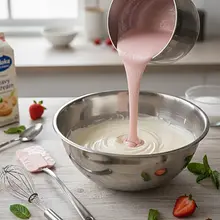
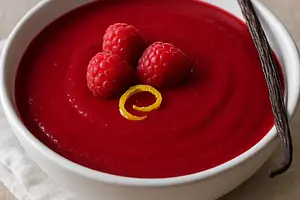
Start by preparing the heart of our ice cream - strawberry puree. Wash the strawberries thoroughly under cold running water. Gently dry them with a paper towel. Next, using a small, sharp knife, remove the green stems from each strawberry. Transfer the fruit to a blender jug, add powdered sugar and freshly squeezed lemon juice. Blend everything on high speed for about 1-2 minutes until you achieve a smooth, uniform puree. You can leave a few small pieces of fruit for an interesting texture.
Ingredients:
Strawberries, Powdered sugar, Lemon juice
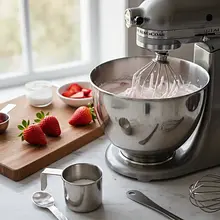
A high-power jug blender works best. If you don't have one, you can use an immersion blender in a tall container to avoid splattering. Remember not to blend for too long to avoid overly aerating the mousse.


Comments (0)
Be the first to comment on this recipe!
Add a comment