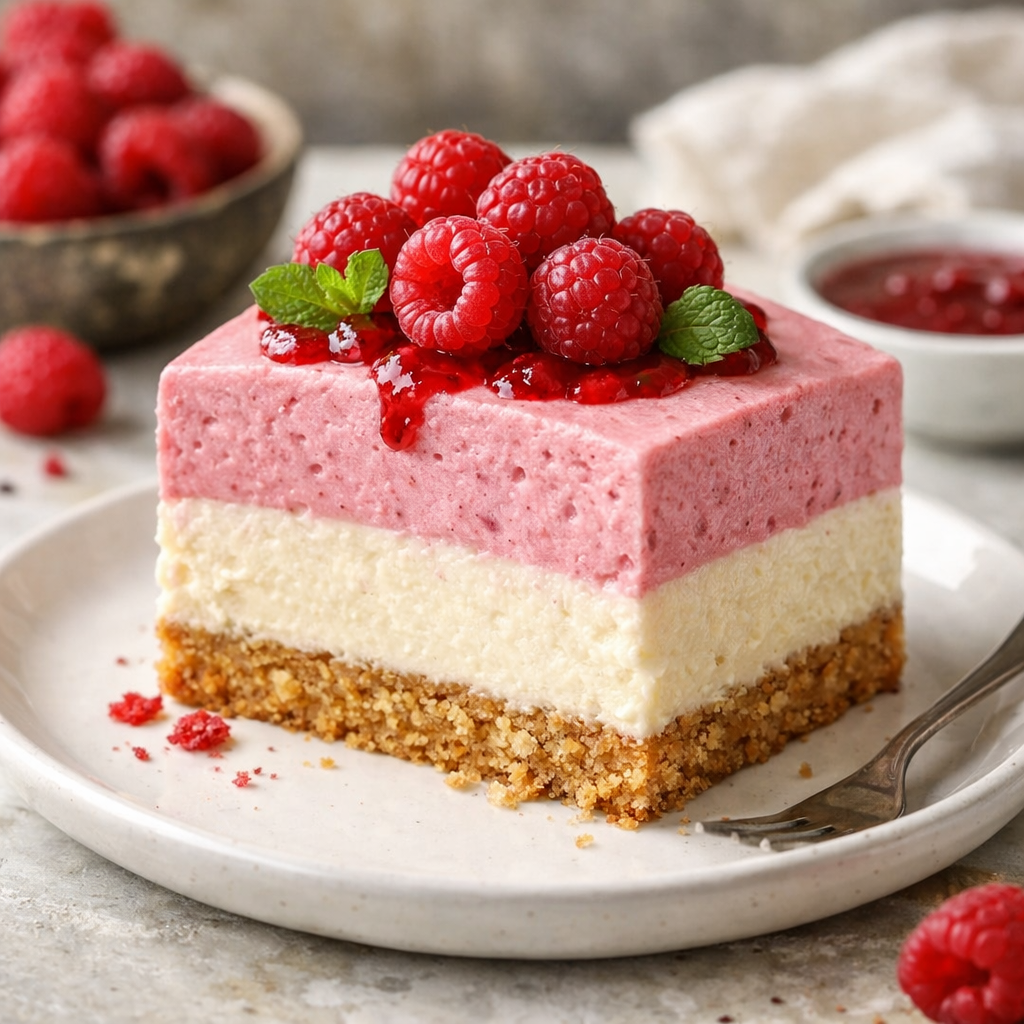
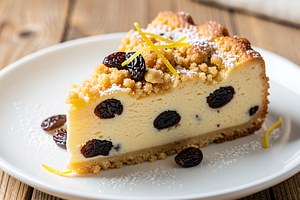
A delicate, creamy cheesecake on a crunchy biscuit base, topped with a vibrant raspberry mousse. This is a modern interpretation of the classic Polish cheesecake — it combines traditional curd cheese and the creamy texture of the filling with a light, sweet-and-sour raspberry cloud. Perfect as a dessert after dinner, for a party, or as an elegant centerpiece for a coffee table. Visually: a contrast between the light, creamy filling and the intense, pink mousse, with a simple decoration of mint leaves or lemon zest. The recipe includes tips for beginners: how to prepare the base, how to dissolve and combine gelatin, how to recognize the right consistency of the cheese mixture, and how to achieve a smooth raspberry mousse. Alternatives include using frozen raspberries out of season and substituting part of the curd cheese with cream cheese if someone is looking for an even creamier texture.
Prepare the pan (a springform pan with a removable side, 23 cm in diameter). Line the bottom with a strip of parchment paper so that the paper extends outside, making it easier to remove the cheesecake. Check that the sides are well sealed.
Use a 23 cm springform pan. This will make even baking and decoration easier. If you have a smaller pan, the proportions will change.
2
Place the biscuits in a large bowl and crush them into fine crumbs — you can use a blender in short pulses or put the biscuits in a plastic bag and crush them with a rolling pin. The goal is to achieve very fine crumbs without large pieces.
If you are crushing by hand, use a rolling pin and a sturdy bowl; mash vigorously to avoid leaving large pieces.
3
Melt the butter in a small saucepan over low heat or briefly in the microwave (15-25 s). Pour the warm butter into the crushed biscuits and mix with a spoon until the crumbs are evenly combined. Transfer the mixture to the mold, pressing down with the bottom of a glass or a spoon to make the base compact and even. Place in the refrigerator for 20 minutes to set.
Use a wooden spoon or spatula. Press evenly — if the bottom is not compact, it will crumble when cut.
Cheese mixture
4
Take the cheesecake curd out of the fridge for at least 15 minutes to reach room temperature — this will make mixing without lumps easier. Transfer the curd to a large mixing bowl or a large bowl.
If the cottage cheese is very lumpy, pass it through a sieve or mash it with a potato masher before blending.
5
Add the measured sugar, a pinch of salt, and lemon zest (if you want to add flavor) to the cottage cheese. Start mixing on the lowest speed to combine the ingredients. Mix for 1–2 minutes until the mixture is smooth.
Use a mixer with a flat attachment (spatula) or a hand mixer. Do not increase the speed immediately — this will prevent splattering and aerating the mixture.
6
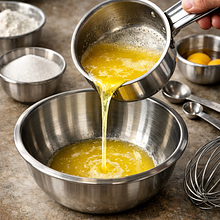
Add one egg at a time, mixing briefly after each addition (max. 20–30 seconds), until the mixture is smooth. If the mixture starts to separate or looks too runny, stop mixing and gently fold with a spatula.
Do not mix for too long - excessive aeration will cause the cheesecake to collapse after baking. If you don't have a mixer, whisk vigorously with a whisk.
7
Whip the 30% cream to a semi-stiff consistency: in a chilled bowl, whip the cream on low/mid speed for 2–3 minutes until it starts to hold its shape but is still creamy. Gently fold the whipped cream into the cheese mixture with a spatula, using an upward motion to avoid losing fluffiness.
Use chilled cream and a cool bowl, if possible. Be careful not to overwhip the cream — it should be creamy, not a solid mass.
8
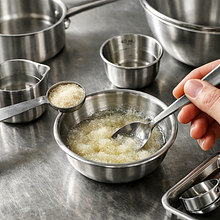
Prepare the gelatin: in a small bowl, add 8 g of gelatin, pour in 40 ml of cold water, mix, and let it sit for 5–7 minutes until it softens (this is called blooming). Then gently heat in a water bath or in the microwave to a maximum of 40–45°C, stirring until the gelatin completely dissolves — do not boil. When the gelatin is liquid, pour a tablespoon of hot gelatin into a small amount of the cheese mixture, mix quickly, and then pour it back into the main mixture and mix thoroughly but gently.
Use a small bowl and a spoon to mix. If the gelatin is too hot, it will curdle the egg white — make sure it is warm, not hot. This step stabilizes the cheese mixture and helps it set without baking.
9
Pour the cheese mixture onto the previously chilled base and smooth the surface with a wide spatula. Gently tap the mold on the table (a few times) to release larger air bubbles. Place the mixture in the refrigerator for 20 minutes to slightly set before adding the raspberry mousse.
Use a rubber spatula to smooth it out. If air bubbles appear, you can pop them with a toothpick and smooth it out.
Raspberry mousse
10
Prepare the raspberries: if you are using frozen ones, thaw them in a bowl and drain the excess juice, which you can save to thin the puree. In a saucepan, add the raspberries (300 g) and 40 g of sugar (part of the total amount). Heat over low heat for 5–7 minutes until the fruit breaks down and releases its juice. Remove from heat.
Use a wooden spoon and a wide saucepan. Do not boil vigorously — gentle heating preserves the aroma. If you have a strainer, you can pass the puree through it for smoothness.
11
Blend the hot raspberries into a smooth puree using an immersion blender or a stand blender. Strain the puree through a fine sieve to remove the seeds — use a spoon to press the pulp. Measure out 200 g of the resulting puree. If the puree is too thin, cook for another 1–2 minutes; if too thick, add 1–2 tablespoons of juice left from thawing.
Straining through a sieve gives the mousse a silky texture. Use a smooth spoon to avoid leaving any residue in the sieve.
12
Soak 4 g of gelatin (half the portion) in 20 ml of cold water for 5–7 minutes. Heat until it dissolves into a liquid form (do not boil). Pour the dissolved gelatin in a thin stream into 200 g of warm raspberry puree, stirring constantly to prevent lumps from forming. Add 10 g of lemon juice (about 10–15 g) for freshness and mix thoroughly.
This step ensures that the mousse will be stable and creamy after setting. If the puree is cold, gently warm it before adding the gelatin.
Assembly and cooling
13
Carefully pour the warm, but not hot raspberry mousse over the slightly set cheese mixture, spreading it evenly with a spoon. Smooth the surface and place the cheesecake in the refrigerator for at least 3 hours, preferably 4–6 hours (or overnight), until the entire cheesecake is well set.
Use a wide spoon or spatula. Do not pour very hot mousse — it may cause uneven thickening of the cheese mixture.
Decoration and serving
14
Remove the cheesecake from the refrigerator. Wait 5–10 minutes, then remove the springform ring. If you are using powdered sugar, gently sift a thin layer over the edges. Decorate with mint leaves (optional) and possibly a few fresh raspberries.
Use a sharp knife dipped in hot water and wipe it after each cut for clean slices. Additionally, you can add a few fresh fruits on the plate for contrast.
Fun Fact
💡
Cheesecake is one of the oldest cakes — its original versions appeared in ancient Greece. In Poland, cheesecake gained its own identity thanks to cottage cheese and various regional variations, and the addition of fruit is a modern touch that refreshes the classic.
Serve chilled. When slicing, dip the knife in hot water and wipe it before each cut to ensure even slices. A light herbal tea, espresso coffee, or a glass of sweet dessert wine pairs well with the cheesecake. For a flavor contrast, you can add a bit of sour cream next to the slice.
🥡Storage
Store in the refrigerator covered with plastic wrap or in a cake box for 3-4 days. To freeze, cut into portions, freeze flat on a baking sheet, then transfer to bags — store for up to 1 month. Thaw in the refrigerator for a few hours before serving.
Desserts are a sweet ending to every meal - from simple puddings to exquisite creamy cakes. Our collection includes recipes for homemade ice cream, chocolate mousses, panna cotta, tiramisu, crème brûlée, and lemon tart. Summer fruit desserts: jellies, sorbets, parfaits, and fruit salads with whip...
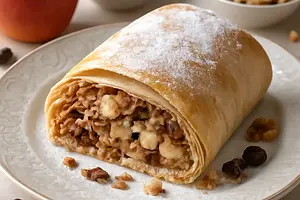
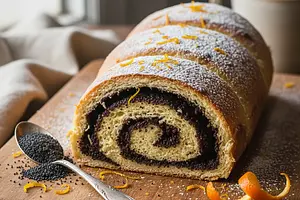
Homemade cakes and pastries are the heart of Polish culinary tradition - sweet memories from childhood. In our collection, you will find recipes for classic yeast cakes, shortcrust, sponge, and cheesecake. Apple pie, poppy seed cake, gingerbread, Easter babka, chocolate cake, and New York cheesec...


Comments (0)
Be the first to comment on this recipe!
Add a comment