


Finely chop the cabbage, salt it, and set it aside for 10 minutes, then squeeze out the water.
Description
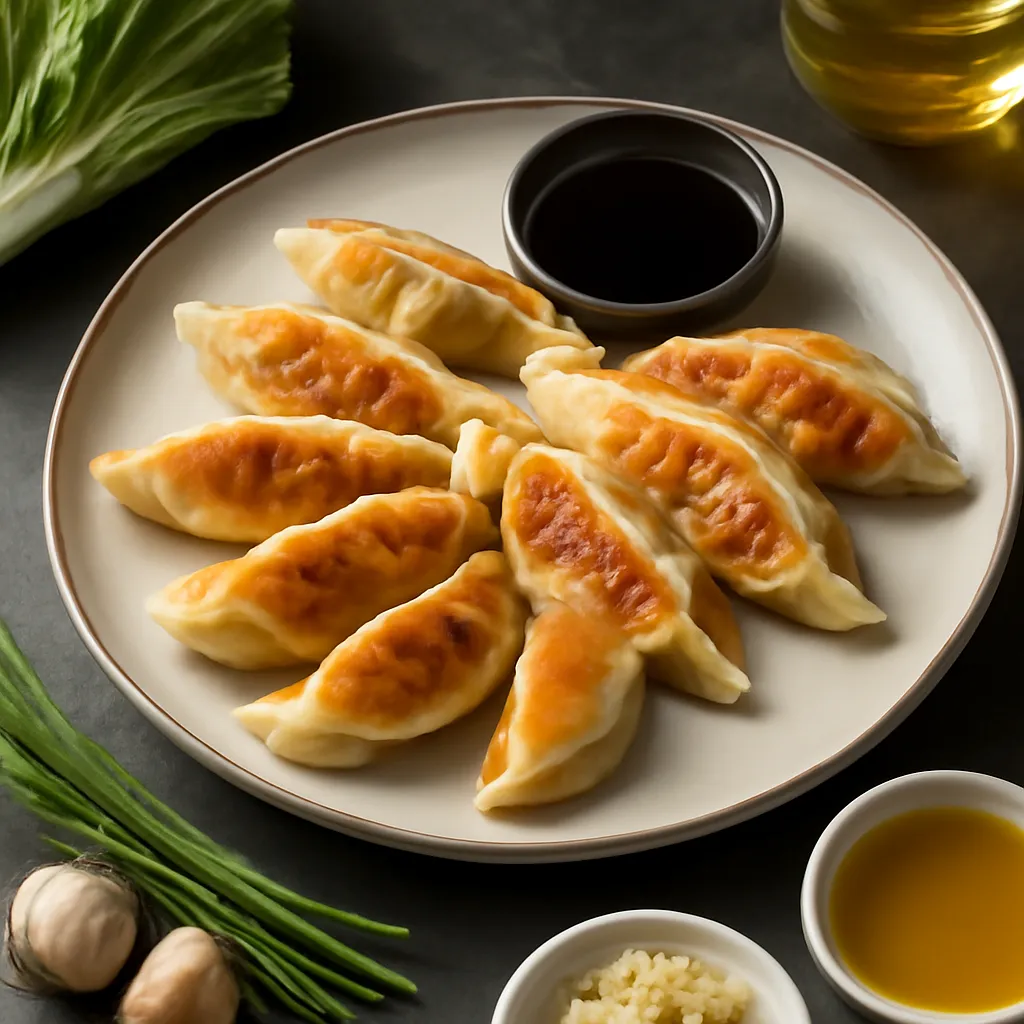
Crispy on the bottom, delicate on top, Japanese gyoza dumplings are the perfect snack or main dish. The filling made of ground pork, cabbage, and garlic is wrapped in thin dough and pan-fried using the yaki-gyoza method. Served with spicy ponzu sauce and chili oil, they melt in your mouth. The secret lies in the frying-steaming technique, which gives them their distinctive texture.
Ingredients Used
Ingredients (10)
Servings:
4
- Ground pork 300 g
- Chinese cabbage 200 g
- Wheat flour 300 g
- Soy sauce 30 ml
- Vegetable oil 30 ml
- Garlic 0.6 clove (~3 g)
- ✨ Optional
- Rice vinegar 30 ml
- Ginger 15 g
- Sesame oil 15 ml
- Chives 2 g
💰 Estimated dish cost:
~11.37 PLN
(2.84 PLN/serving)
💡 Click an ingredient to mark it as used
Preparation steps
1
2
Mix the meat with cabbage, garlic, ginger, chives, and spices.
3
From flour and water (150ml), we knead a flexible dough and let it rest for 30 minutes.
4
Divide the dough into small balls, roll them out into thin circles.
5
On each circle, place a teaspoon of filling, pinch the edges to create pleats.
6
Heat oil in a pan, arrange the gyoza, and fry for 2 minutes until browned.
7
Add 50ml of water, cover, and simmer for 5 minutes until evaporated.
8
Serve with soy sauce mixed with rice vinegar.
Fun Fact
Gyoza has its roots in Chinese dumplings called jiaozi, but in Japan, it has adopted a unique flavor and preparation technique.
Best for
Tips
🍽️
Serving
It is best to serve gyoza warm, on ceramic or wooden plates. They pair perfectly with soy sauce and chili oil, which can be placed in small bowls alongside. Decorate the plate with fresh herbs or lime slices for an added visual effect.
🥡
Storage
Store leftover gyoza in an airtight container in the fridge, where they can stay fresh for up to 3 days. They can also be frozen, and after thawing, it's best to heat them in a pan to restore their crispiness.
📸 Cooked by the community
Log in to add a photoAdd a photo of the finished dish
After moderator approval, you will receive 10 experience points.
🍲
No one has added a photo yet. Be the first!


Comments (0)
Be the first to comment on this recipe!
Add a comment