


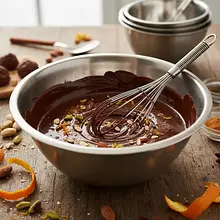
Start by preparing all the ingredients. Break the chocolate into pieces, then chop it finely with a sharp knife on a cutting board. The smaller the pieces, the faster and more evenly they will melt. Transfer the chopped chocolate to a medium-sized bowl (preferably glass or metal). Also chop the walnuts finely. Wash the orange thoroughly, scald it with boiling water, and dry it. Grate the zest from the orange using a fine grater, being careful to only grate the orange part, avoiding the white (albedo), which is bitter.
Ingredients:
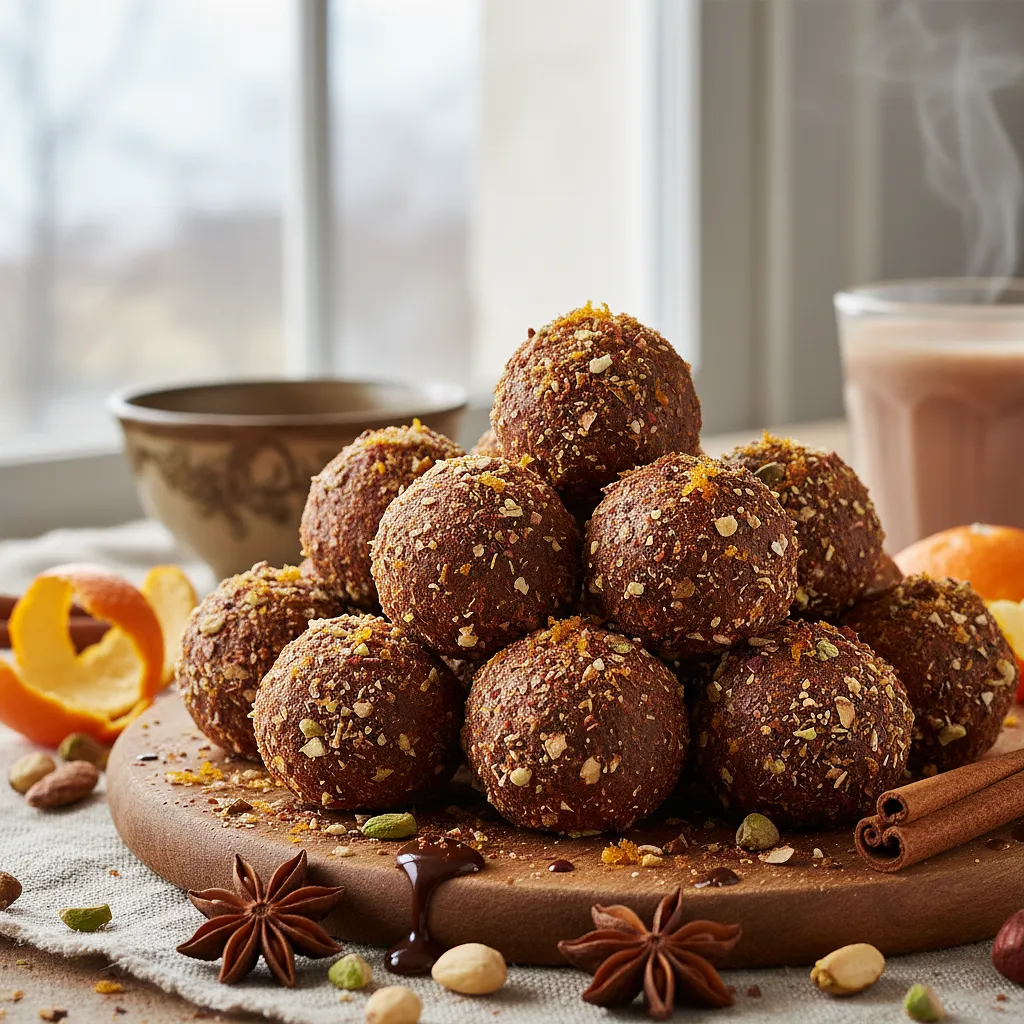
Dark chocolate min. 70%, Walnuts, Orange
Use a stable cutting board and a sharp chef's knife. Preparing all the ingredients at the beginning (the so-called 'mise en place') makes the work much easier and faster.


Comments (0)
Be the first to comment on this recipe!
Add a comment