


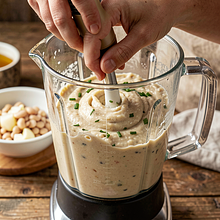
Prepare all the ingredients and tools: drain the beans in a strainer and rinse with cold water (drained about 240 g). Peel the garlic cloves. Wash the chives and dry them with a paper towel, then finely chop. Squeeze the juice from the lemon into a small bowl.
Ingredients:
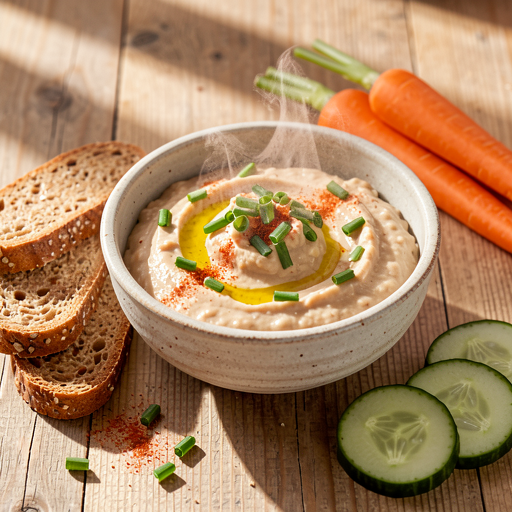
White bean, Garlic, lemon juice, Chives
Use a strainer to drain the beans and a cutting board with a sharp knife for the chives. Well-dried chives will prevent the dip from becoming watery.


Comments (0)
Be the first to comment on this recipe!
Add a comment