Prepare the pan: line a square pan measuring 20x20 cm (you can also use a rectangular one measuring 18x24 cm) with a sheet of baking paper so that the paper extends beyond the edges — this will make it easier to remove the finished block. Heat a small skillet over medium heat, add the chopped nuts (30 g from the total 150 g) and toast for 2-3 minutes, stirring, until they are fragrant and lightly browned. Set aside to cool.
Description
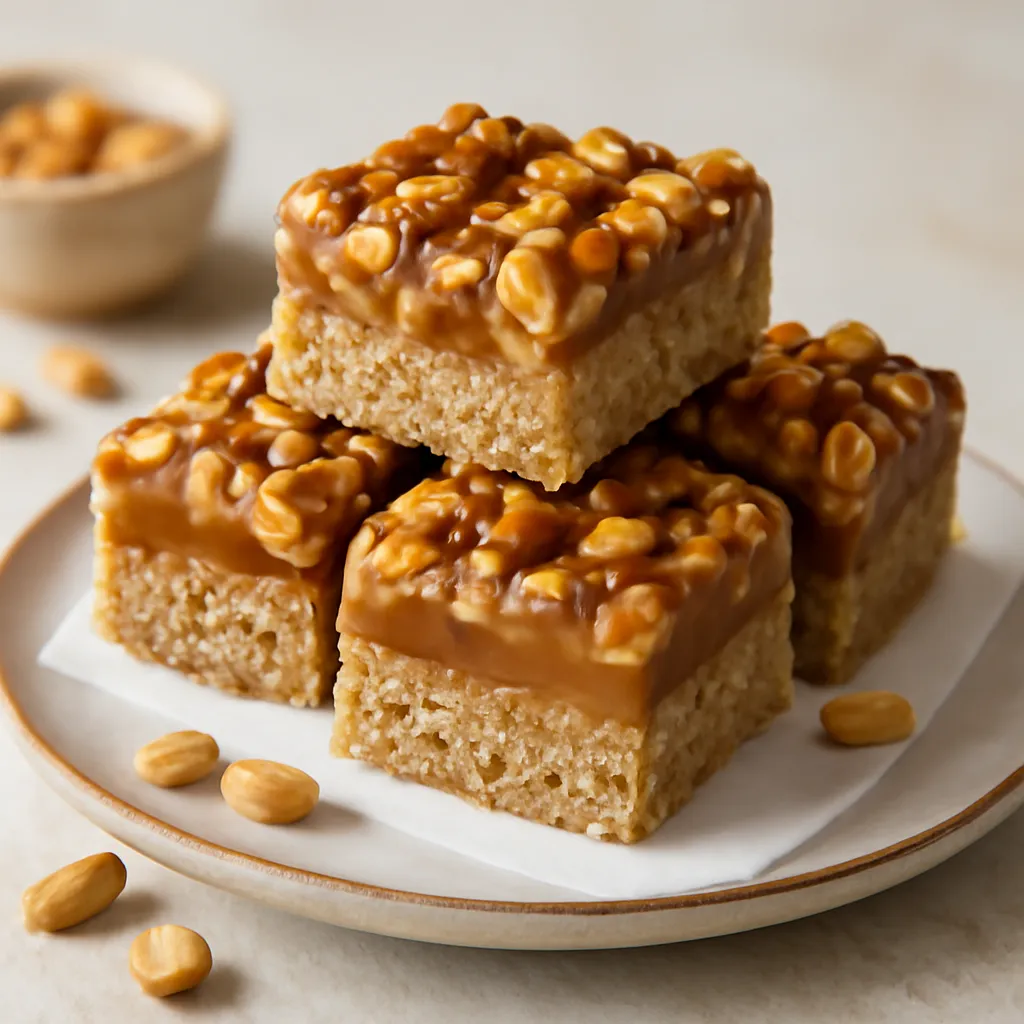
Safety squares inspired by the idea of a popular candy bar: a layered dessert with a distinct structure — a crunchy cookie base, soft nut caramel, a light creamy layer made from peanut butter and powdered sugar, and a glossy chocolate coating. The dessert combines sweet and salty notes, contrasting textures (crunchy nuts vs smooth caramel), and simplicity of preparation — perfect for making at home without an oven. It can be served with coffee, milk, or as a sweet snack for kids; it looks great cut into even squares and sprinkled with sea salt flakes to enhance the flavor.
Ingredients Used
Ingredients (12)
- Peanut butter 200 g
- Butter 80 g
- Roasted salted peanuts 150 g
- Dulce de leche 300 g
- Powdered sugar 80 g
- Coconut oil (solid) 30 g
- Sea salt 1 g
- Vanilla extract 5 g
- Bitter chocolate (min. 70%) 220 g
- Biscuits 200 g
- ✨ Optional
- Sea salt flakes 5 g
- Cocoa nibs (optional) 30 g
💡 Click an ingredient to mark it as used
Preparation steps
Base
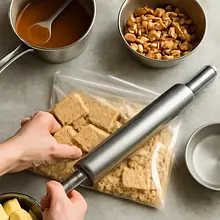
Crush the biscuits: place the butter biscuits (200 g) in a ziplock bag and crush them with a rolling pin into fine crumbs with some larger pieces (not into powder). Alternatively, use a food processor — pulse 6-8 times until you achieve the consistency of wet sand with a few chunks.
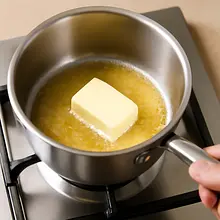
Melt the butter (80 g): place the butter in a small pot and heat over low heat until completely melted (about 1-2 minutes). Do not allow it to boil. Pour the melted butter into a bowl with the crushed biscuits and mix thoroughly with a wooden spoon or spatula until the mixture is moist and easily forms a patty when pressed with a spoon.
Prepare the base: transfer the cookie mixture to the prepared pan and spread it evenly. Use the bottom of a glass or a spoon to press it down firmly, creating a compact base about 6-8 mm thick. Place the pan in the refrigerator for 15 minutes to let the base firm up.
Nut Caramel
Prepare the nut caramel: place dulce de leche (300 g) in a saucepan, add peanut butter (120 g from a total of 200 g — set aside the remaining 80 g for the cream layer) and a teaspoon of vanilla extract (5 g). Heat on very low heat for 3-4 minutes, stirring with a silicone spatula, until the ingredients combine into a uniform, smooth mixture. Add chopped roasted nuts (the remaining 120 g from the total — leave 30 g chopped for the top) and mix well.
Pour the caramel: take the chilled base out of the fridge and evenly spread the prepared nut caramel over it. Use a rubber spatula to smooth the surface. If you like, sprinkle a thin layer of finely chopped nuts (30 g) on top. Return to the fridge for 20-30 minutes, until the caramel slightly thickens (the surface should be sticky but not liquid).
Cream layer
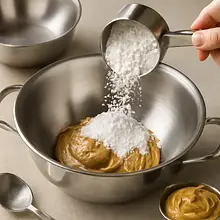
Prepare the peanut cream: in a bowl, add powdered sugar (80 g). Add the remaining peanut butter (80 g) and 10 g of melted butter (if the mixture needs softening). Add a pinch of salt (1 g) and a tablespoon of vanilla extract (if you want a stronger aroma, 2-3 g extra). Mix vigorously with a spoon or a mixer on the lowest speed for 1-2 minutes until the mixture is smooth, creamy, and pliable — it should resemble a thick icing with a consistency that can be spread evenly but does not run.
Gently spread the prepared nut cream over the chilled caramel and smooth it out into an even layer about 5 mm thick. Smooth it with a spatula. Place it in the refrigerator for another 20 minutes to allow all the layers to set and chill properly.
Chocolate glaze
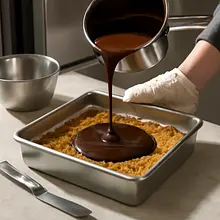
Prepare the glaze: break the chocolate (220 g) into small pieces and place it in a heatproof bowl. In a small saucepan, bring a small amount of water (about 3 cm) to a boil, reduce the heat to low, and set the bowl with the chocolate over the steam (bain-marie). Add the coconut oil (30 g) and stir with a wooden spoon until the mixture is smooth and shiny. The temperature should be moderate — the chocolate should melt but not overheat (no more than about 50°C).
Finishing: take the mold out of the fridge and quickly, but carefully, pour the chocolate glaze over the layers, spreading it evenly with a spatula. If you want an additional decorative effect, use a portion of chocolate to create a wavy pattern. Immediately sprinkle with the remaining chopped nuts (if any) and — optionally — sea salt flakes and cocoa nibs.
Cooling and Cutting
Chilling and cutting: place the mold in the refrigerator for at least 1 hour (it can be longer — up to 3 hours), until the topping is firm and all layers are well set. After chilling, remove the block from the mold by holding the protruding paper and set it on a board. Remove the paper and with a sharp knife (preferably heated in hot water and dried) cut into equal pieces, first scoring the edges, then dividing into 12 cubes. Before each cut, wipe the knife with a damp cloth to achieve clean edges.
Serving
Serve the cubes chilled or at room temperature (after 10-15 minutes out of the fridge). Arrange them on a plate in a single layer, and you can also sprinkle a small amount of sea salt flakes or cocoa nibs for flavor contrast and aesthetics.
Fun Fact
Layered no-bake desserts gained popularity in the 20th century due to their ease of preparation and the increasing availability of ready-made ingredients like condensed milk and nut creams. The combination of sweet caramel with salty nuts is a classic contrast technique that significantly enhances the perception of flavor.
Best for
Tips
Serve chilled so that the layers hold together nicely. For an elegant presentation, arrange the cubes on a dark plate, lightly sprinkling the edges with small pieces of nuts and a few flakes of sea salt. For coffee, choose espresso or strong coffee with milk — the contrast of bitter chocolate and sweet caramel will complement each other well.
Store in an airtight container in the refrigerator for up to 7 days. You can also freeze individual cubes in sealed bags — thaw overnight in the refrigerator. To refresh the shine of the glaze after storage, leave the cubes at room temperature for 10-15 minutes before serving.
📸 Cooked by the community
Log in to add a photoAdd a photo of the finished dish
After moderator approval, you will receive 10 experience points.
No one has added a photo yet. Be the first!
Comments (0)
Be the first to comment on this recipe!
Add a comment