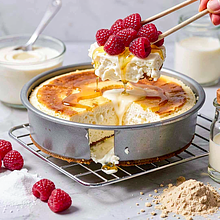
Prepare the biscuit base. Preheat the oven to 160°C (fan 150°C). Place the biscuits in a resealable freezer bag and roll them with a rolling pin into fine crumbs (if you have a food processor, pulse 6–8 times). Melt the butter in a small saucepan and set aside for 1–2 minutes to cool slightly. Transfer the crushed biscuits to a large bowl, pour in the melted butter, and quickly mix with a wooden spoon until all the crumbs are slightly moist and hold together when pressed with your hand. Line a 20×20 cm square baking dish with parchment paper, transfer the biscuit mixture, and spread it evenly, pressing down with a glass or spoon to make it compact and level. Place in the refrigerator for 15 minutes to set.
Description
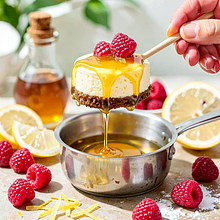
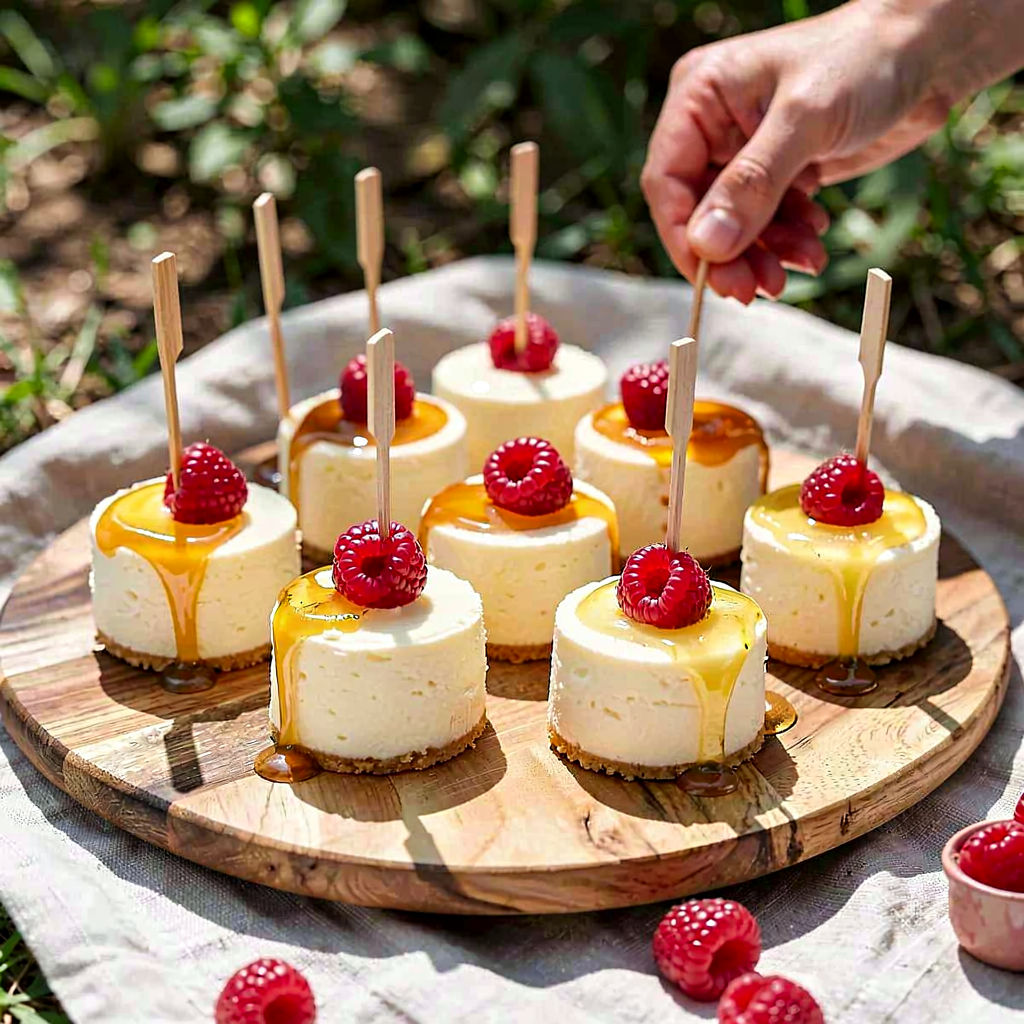
Cottage cheese cheesecake on a stick is a summer, portable version of the classic Polish cheesecake — baked, chilled, and served on a wooden stick like a lollipop. It has a delicate, creamy texture of cottage cheese on a buttery biscuit base, topped with a sweet and sour glaze made of honey and lemon juice, along with a fresh raspberry for contrast. It’s the perfect street food for a fair, picnic, or summer party — aesthetic, handy, and impressive. In flavor, it combines traditional creamy cottage cheese with the aroma of butter and a crumbly biscuit base, while the glaze adds freshness and a light shine. The dish is visually appealing: small squares of cheesecake on sticks, each with a raspberry and a glossy coating.
Ingredients Used
Ingredients (14)
- Cottage cheese 600 g
- Chicken egg 2 pcs (~120 g)
- Sugar 120 g
- Vanilla sugar 8 g
- 18% cream 150 ml
- Wheat flour 20 g
- Biscuits 200 g
- Butter 80 g
- Honey 60 ml
- Lemon 0.6 pcs (~50 g)
- Raspberry 180 g
- 🌿 Spices
- Salt 1 g
- ✨ Optional
- Lemon zest 4 g
- Powdered sugar 20 g
💡 Click an ingredient to mark it as used
Preparation steps
Base
Cheese dough and baking
Prepare the cheese mixture. In a large bowl, place the cottage cheese; if it is very lumpy, blend briefly with an immersion blender (3–4 short pulses). Add the sugar and vanilla sugar, then beat with a wooden spoon or mixer on low speed for 1–2 minutes until the mixture is smooth. Add the eggs one at a time (crack one in, mix until combined, then add the second). Pour in the cream, add the flour and a pinch of salt, and mix briefly until you have a uniform consistency — the mixture should be thick but pourable. Pour the mixture evenly onto the chilled base and smooth it out with a silicone spatula. Bake in the preheated oven for 30–35 minutes; the cheesecake is ready when the edges are set and slightly golden, and the center is slightly jiggly (not liquid) when the pan is gently shaken. After turning off the oven, crack the door open and leave the cheesecake inside for 15 minutes, then remove and cool to room temperature.
Cooling and Shaping
Cooling and shaping on sticks. After cooling to room temperature, place the cheesecake in the refrigerator for at least 4 hours (preferably overnight) to allow the mixture to set well. Remove the chilled block of cheesecake from the mold, take off the paper, and turn it onto a cutting board. Cut into 12 equal rectangles (3×6 cm or similar) — use a sharp knife, rinsing it in warm water every few cuts for a smooth slicing. Insert a wooden stick into the center of each piece about halfway up. To keep the sticks stable: place the pieces in the freezer for 10–15 minutes, then they will be firmer and easier to coat with the glaze.
Glaze and decoration
Prepare the honey-lemon glaze and decorate. In a small saucepan, heat the honey with lemon juice over low heat — stir until the mixture becomes liquid and smooth, but do not let it boil (temperature about 40–50°C, 1–2 minutes). Add grated lemon zest if using. Pour the glaze into a low wide bowl, let it cool slightly (it should be warm, but not hot). Holding the cheesecake by the stick, dip the top into the glaze for 1–2 seconds, allowing the excess to drip off. Immediately place 1–3 fresh raspberries on top and gently press to adhere. Arrange on a plate and refrigerate for 20–30 minutes until the glaze slightly sets. Finally, optionally dust with a light layer of powdered sugar.
Fun Fact
Mini cheesecake pops are a modern variation of the traditional Polish cheesecake — the "on a stick" form makes it easy to serve at outdoor parties and festivals, combining homemade flavor with the convenience of street food.
Best for
Tips
Serve very chilled — ideally straight from the fridge or slightly after freezing (10–15 minutes) for a firmer consistency. Arrange on a wooden board or a plate lined with decorative napkins; you can serve small bowls with extra raspberries and a drizzle of honey for topping.
Store in the refrigerator in a closed container for up to 3 days. Some people freeze cheesecake pops (for up to 1 month) — thaw in the refrigerator for 1–2 hours before serving. It’s best to prepare the honey glaze just before serving, as longer storage may cause it to thicken.
📸 Cooked by the community
Log in to add a photoAdd a photo of the finished dish
After moderator approval, you will receive 10 experience points.
No one has added a photo yet. Be the first!
Comments (0)
Be the first to comment on this recipe!
Add a comment