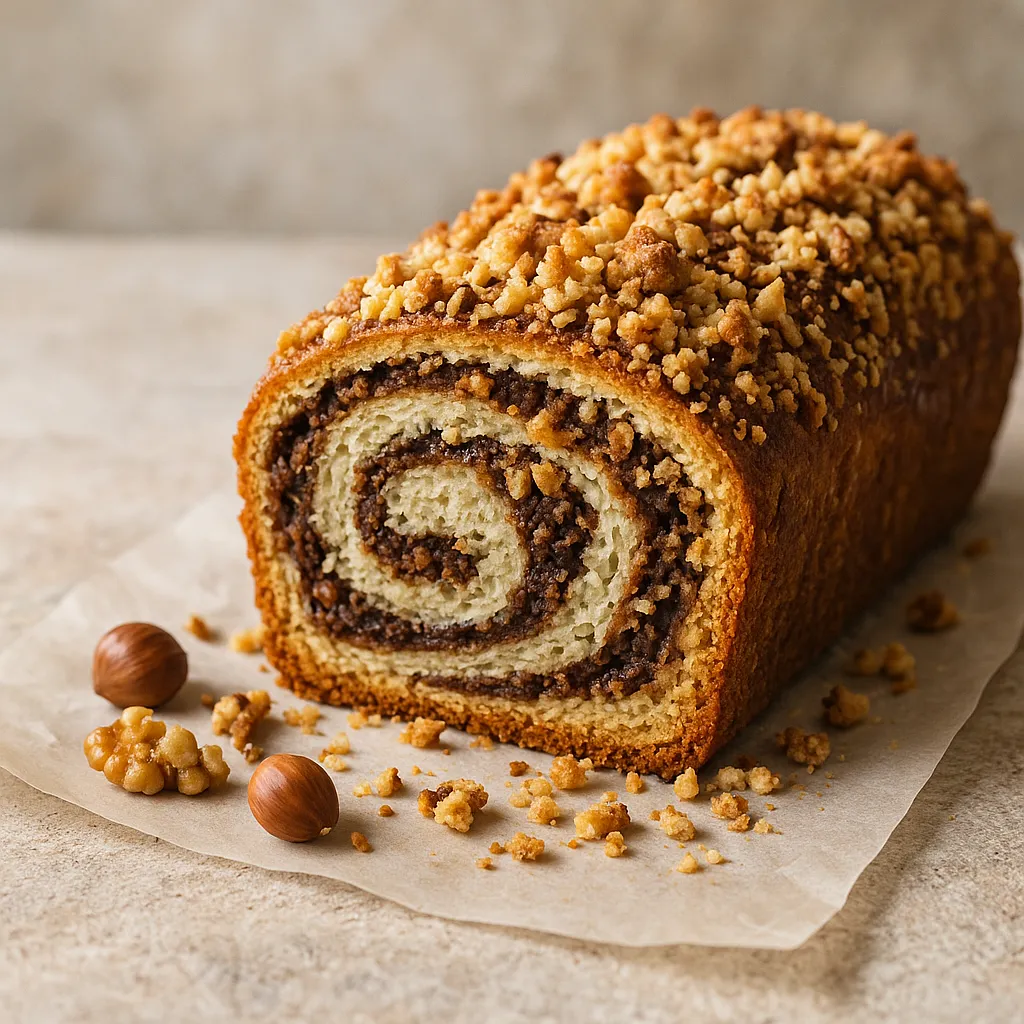


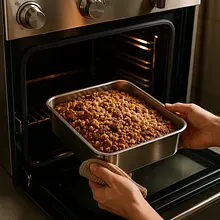
Take the butter and eggs out of the fridge about 30 minutes before starting, so they reach room temperature (this makes it easier to beat and combine the ingredients). Preheat the oven to 175°C (top-bottom). Prepare a loaf pan or a springform pan with a diameter of about 22-24 cm: grease with butter and line with baking paper to make it easier to remove the cake.
Ingredients:
Butter, Chicken egg
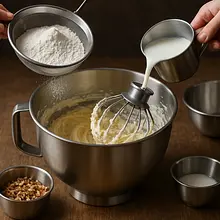
Use a bowl, spatula, and measuring cups. If you have a kitchen thermometer, the butter should be soft but not melted (~18–22°C).


Comments (0)
Be the first to comment on this recipe!
Add a comment