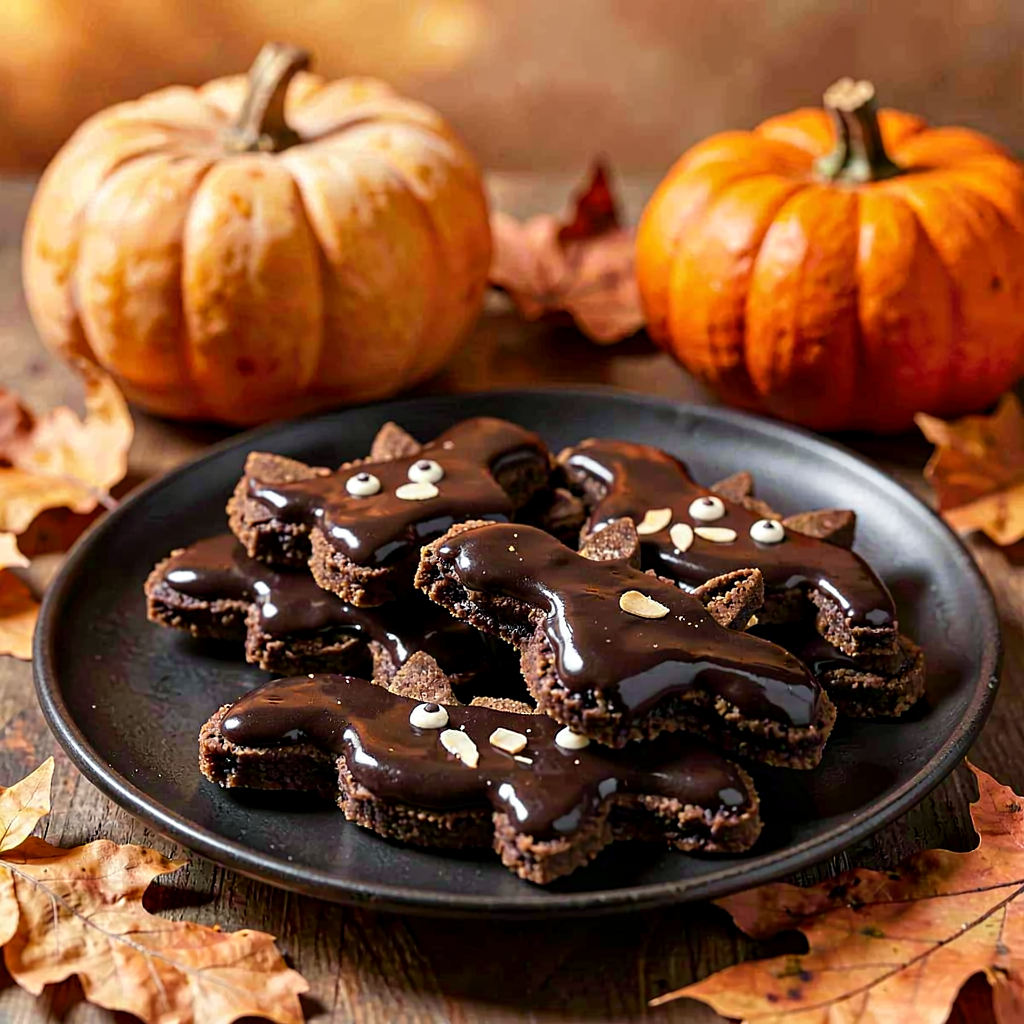
Recipe for: Bat-shaped cookies

Desserts halloween 90 min Medium 0 views ~30.54 PLN * - (0)
Rate:
(0)
Start Cooking

Description

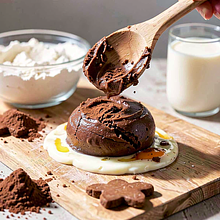
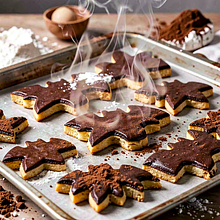
Crispy, slightly cocoa-flavored bat-shaped cookies — the perfect dessert for Halloween. These simple butter cookies with cocoa are coated in dark chocolate and decorated with almond slices or white icing for eyes. The flavor is balanced: butter and sugar provide a delicate crunch, cocoa adds depth, and chocolate gives shine and an intense aroma. Visually, they resemble bat silhouettes — they look great on a black plate with autumn decorations (leaves, a small pumpkin). They can be served at a Halloween party, as a gift, or as an accompaniment to coffee. The recipe includes detailed instructions for kneading, rolling, cutting, and decorating, making it suitable even for those baking cookies for the first time.

Ingredients Used

Ingredients (12)

Servings:
24
  • Wheat flour 300 g
  • Butter 140 g
  • Sugar 120 g
  • Chicken egg 1 pcs (~60 g)
  • Cocoa 30 g
  • Baking powder 10 g
  • Milk 30 ml
  • Dark chocolate 200 g
  • Almond 30 g
  • 🌿 Spices
  • Salt 1 g
  • ✨ Optional
  • Pumpkin 100 g
  • Powdered sugar 50 g
💰 Estimated dish cost: ~30.54 PLN (1.27 PLN/serving)
* Prices missing for some ingredients

💡 Click an ingredient to mark it as used

Preparation steps

Cake

1

Take the butter out of the fridge for 30–60 minutes to soften (it should be soft but not melted). Check by pressing with your finger: the butter should slightly indent. Prepare a large bowl and a kitchen scale.

Ingredients: Butter
Use a large bowl and a butter knife. Do not melt the butter in the microwave — you will lose the structure, and the dough will be too soft.
2

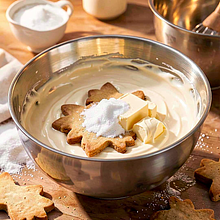
Place the soft butter and sugar in a bowl. Use a wooden spoon or a hand mixer with whisk attachments and beat for 2–3 minutes on medium speed until the mixture becomes light and creamy (it should be smooth, without lumps of butter).

Ingredients: Butter, Sugar
If you don't have a mixer, use a wooden spoon and stir vigorously for 5–7 minutes. Don't fill the bowls too high; the mixture should be able to move freely.
3

Add the whole egg and mix for 30–45 seconds until the egg combines with the butter (the mixture should slightly drop and become more liquid). If you are using pumpkin (optional), add 100 g of puree at this point and mix well.

Ingredients: Pumpkin
Use a whisk or mixer. If you are adding pumpkin, make sure the puree has been drained of excess liquid — too moist dough will be sticky.
4

Sift the wheat flour, cocoa powder, and baking powder into a large bowl. Add salt. Do this over the bowl with the butter to avoid spilling and to achieve an even mix of the dry ingredients.

Ingredients: Wheat flour, Cocoa, Baking powder, Salt
Use a flour sifter and a separate bowl for sifting. Sifting will aerate the flour and break up cocoa lumps.
5

Gradually add the dry ingredients to the butter-egg mixture, stirring with a wooden spoon or spatula until a crumbly texture forms. If the dough seems too dry, add 1–2 tablespoons of milk (up to 30 ml). Then briefly knead with your hands or use a dough hook — just to combine the ingredients. The dough is ready when it is cohesive, not overly sticky to the hands, and forms a ball.

Ingredients: Wheat flour, Cocoa, Milk
If you are using a mixer, briefly mix on the lowest speed (10–20 seconds). Do not knead too long — excessive kneading will result in hard cookies.

Cooling and Rolling

6

Shape the dough into a disk about 2–3 cm thick, wrap it in plastic wrap, and place it in the refrigerator for 30–45 minutes. Chilling makes it easier to roll out and helps maintain its shape during baking.

Use plastic wrap or a bowl with a lid. Do not chill for more than 2 hours — the dough will become too hard to roll out.
7

Preheat the oven to 180°C (top-bottom). Take the dough out of the fridge and divide it into 2 parts. Roll out one part between two sheets of baking paper to a thickness of 3–4 mm. If you don't have a rolling pin, use a bottle.

Use a pastry board or a large baking sheet as a rolling surface. Thin dough (3–4 mm) yields crispy cookies; thicker will be more crumbly and softer in the middle.

Cutting out

8

Cut out bat shapes using a bat-shaped cookie cutter. If you don't have a cutter, sketch and cut out the shape with a knife (use a small pastry knife). Place the cookies on a baking sheet lined with parchment paper, leaving 2–3 cm between them.

A mold with a diameter of 6–7 cm yields about 24 cookies. Use a thin knife to refine the edges if needed.

Baking

9

Bake the cookies in a preheated oven for 10–12 minutes at 180°C. Watch the edges: the cookies are ready when the edges are slightly golden and the center is firm to the touch (not wet). Remove the tray and wait for 2 minutes, then transfer the cookies to a wire rack to cool completely.

Ingredients: Wheat flour, Cocoa
The best is a baking tray measuring 30×40 cm and parchment paper. Do not bake for longer than 12 minutes — the cookies may become too hard.

Decoration

10

Prepare the glaze: break the chocolate and place it in a metal bowl, then melt it in a water bath (the bowl over a pot of gently boiling water), stirring with a spoon until smooth. Dip the tops of the cookies or brush them with chocolate, leaving the edges dry to resemble bat wings. Set aside on paper to harden.

Ingredients: Dark chocolate
Use a wide spoon or a silicone brush. The chocolate should not come into contact with steam — the bowl must not touch the boiling water. The water temperature should be low.
11

Make the eyes: stick individual almond flakes onto the still soft icing, and attach the centers with a drop of melted chocolate or a bit of prepared icing made from powdered sugar and water (if using powdered sugar, mix 1–2 teaspoons of water with 15–25 g of powdered sugar to achieve a thick paste consistency). Allow the icing to set.

Ingredients: almond, Powdered sugar
If you want white eyes, use powdered sugar; add a little lemon juice if the icing is too sweet. Additionally, you can add a few pumpkin seeds instead of almonds as an alternative.

Serving and storage

12

Once the icing has completely set, arrange the cookies on a flat plate or in a box. The cookies taste best the next day when the flavors have melded.

Use a black plate or board with decorations (leaves, small pumpkins) for a Halloween effect. Make sure the glaze is completely set before stacking the cookies on top of each other.

Fun Fact

💡

The bat motif has been popular in Halloween decorations since the 19th century; in Europe, bats have long been associated with the night and mysterious tales, making them a perfect fit for sweet, dark desserts.

Best for

Tips

🍽️ Serving

Serve on a black plate with slices of orange, small decorative pumpkins, and dried leaves. Strong coffee, hot chocolate, or spiced tea are great drinks to accompany it. At the party, stack the cookies and add cardboard bat decorations.

🥡 Storage

Store in an airtight container at room temperature for up to 5 days. To freeze: arrange the cookies in a single layer on a baking sheet, freeze, and then transfer to bags — they can be stored for up to 1 month. Thaw slowly at room temperature, being careful with the decoration and moisture.

📸 Cooked by the community

Log in to add a photo
Add a photo of the finished dish

After moderator approval, you will receive 10 experience points.

🍲

No one has added a photo yet. Be the first!

Comments (0)

Be the first to comment on this recipe!

Add a comment

You might also like

Recipe Categories

Desserts
Desserts in: halloween

Scary but delicious desserts that will delight any sweet tooth.

See all recipes in this category

Halloween is a time when culinary traditions take on a dark and mysterious character. It's an opportunity for fun, creativity, and experimentation in the kitchen, where dishes take on unusual forms. In many countries, children dressed as ghosts and monsters run from door to door collecting candy,...

See all recipes in this category
Advertisement