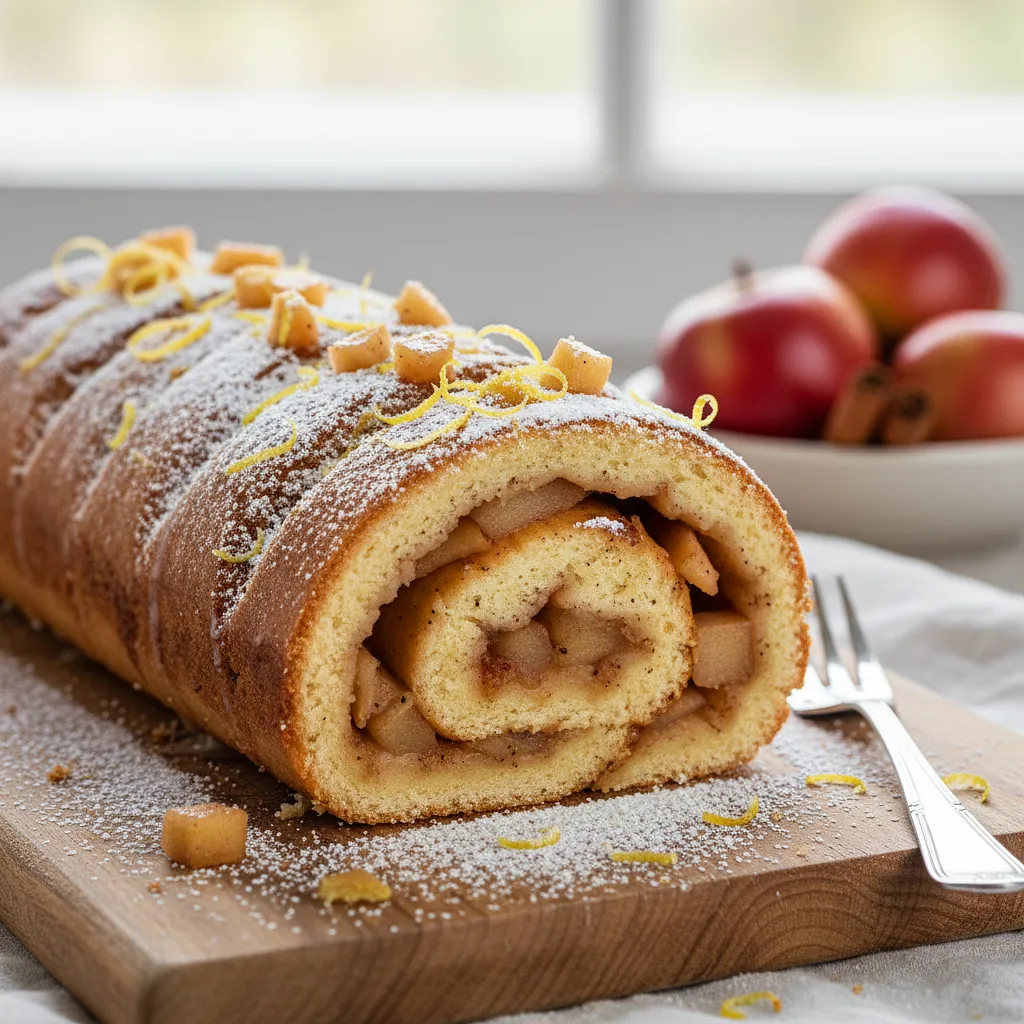
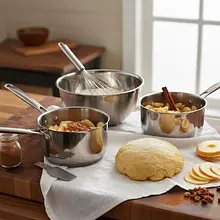
Start by preparing the filling, as it needs to cool completely. Wash the apples, peel them, and remove the cores. Cut the apples into small cubes about 1 cm on each side. Try to make the pieces uniform in size so they roast evenly.
Description
Discover a new take on the classic apple pie in the form of an elegant and fluffy roll. This unique cake combines the lightness of lemon sponge with the richness of aromatic, spiced filling made from roasted apples. Each bite is the perfect balance of sweetness and acidity, enveloped in a soft, springy cake structure. The roll looks incredibly appetizing – the golden sponge creates a beautiful spiral pattern with visible pieces of apple. It is the perfect dessert for any occasion: from Sunday tea to festive gatherings. Served with a dollop of whipped cream or a scoop of vanilla ice cream, it becomes a true feast for the palate. Its preparation, although requiring precision, is an excellent opportunity to learn the technique of rolling the perfect sponge roll that will never crack.
Składniki (13)
- Eggs 4 szt.
- Mąka pszenna tortowa (typ 450) 120 g
- Cukier drobny do wypieków 8 łyżek
- Potato starch 30 g
- Apples (e.g. gray renet, antonovka) 1000 g
- Masło 82% 30 g
- Brown sugar 60 g
- Lemon juice 15 ml
- Baking powder 5 g
- 🌿 Przyprawy
- Ground cinnamon 4 g
- Salt 0.0 szczypt
- ✨ Opcjonalne
- Skórka otarta z cytryny 5 g
- Powdered sugar for dusting 30 g
💡 Kliknij na składnik aby oznaczyć jako użyty
Preparation steps
Apple filling
In a large skillet or a wide pot with a thick bottom, melt the butter over medium heat. When the butter starts to foam, add the chopped apples. Sauté for about 5 minutes, stirring occasionally, until the apples are slightly softened. Then add the brown sugar and cinnamon. Mix well.
Reduce the heat and simmer the apples for another 10-15 minutes. Stir every few minutes to prevent burning. The filling is ready when the apples are soft but still hold their shape, and all the juice has evaporated, creating a thick mixture. Remove from heat and transfer to a bowl to cool completely. This is very important – hot filling will make the sponge cake soggy.
Sponge cake
Preheat the oven to 180°C (fan) or 190°C (top-bottom). Prepare a large, flat baking tray (about 35x40 cm). Line it with baking paper so that the paper slightly overhangs the edges of the tray.
Separate the egg whites from the yolks. Make sure not a bit of yolk gets into the egg whites, as this will make whipping difficult. In a large, clean, and dry bowl, start whipping the egg whites with a pinch of salt on medium speed. When the mixture becomes white and thick, begin adding sugar, one tablespoon at a time, while continuing to whip. After all the sugar has been added, increase the mixer speed to the highest and whip for another 2-3 minutes.
Reduce the mixer speed to the minimum. Add one egg yolk at a time, mixing only until the ingredients are combined (about 10 seconds for each yolk). If you want to add lemon zest, do it now. Do not mix for too long to prevent the foam from collapsing.
In a separate bowl, mix the all-purpose flour, potato starch, and baking powder. Sift the dry ingredients into the egg mixture in two or three batches. After each batch, very gently fold the mixture using a large silicone spatula, making motions from the bottom of the bowl upwards. Mix only until no traces of flour are visible.
Baking and rolling the dough
Pour the prepared batter onto the prepared baking tray. Spread it evenly across the entire surface using a large spatula or the back of a spoon, trying to achieve a rectangle of uniform thickness. Place in the preheated oven and bake for 12-15 minutes. The cake is ready when it is golden and springy to the touch, and a toothpick inserted in the center comes out dry.
While the cake is baking, prepare a clean kitchen towel. Spread it out on the countertop and generously sprinkle it with powdered sugar. As soon as you take the cake out of the oven, act quickly. Grab the protruding parchment paper and with a swift motion, turn the entire baking tray upside down so that the cake lands on the towel. Carefully remove the hot tray, then gently peel off the parchment paper.
Immediately after removing the paper, start rolling the dough with the towel inside, beginning from the shorter side. Roll tightly but gently. Leave the rolled dough in the towel on a rack to cool completely (about 30-40 minutes).
Assembling the roll
When the cake and filling are completely cooled, gently unroll the roll. Evenly spread the previously prepared apple filling over the entire surface of the sponge cake, leaving about a 2 cm free margin on the further, shorter edge.
Now roll the cake back up, this time without the towel. Do this slowly and carefully, using the towel to lift the cake from the bottom to keep the roll tight. Place it on a tray or board with the seam side down. Refrigerate for at least 1 hour to firm up and allow the flavors to meld.
Before serving, generously sprinkle the roll with powdered sugar using a small sieve. Cut into slices about 2-3 cm thick with a sharp knife.
Fun Fact
The name 'szarlotka' in Poland comes from the name Charlotte (in Polish Szarlota), the sister-in-law of Tsar Alexander I. In her honor, the French pastry chef Marie-Antoine Carême, who worked at the imperial court, created an apple cake that became the precursor to today's szarlotka.
Best for
Tips
The roll tastes delicious served slightly chilled or at room temperature. An ideal complement is a dollop of freshly whipped cream (unsweetened, for contrast) or a scoop of vanilla ice cream. It can also be drizzled with caramel sauce or decorated with a sprig of fresh mint.
Store the roll in the refrigerator, tightly wrapped in plastic wrap or in a sealed container, for up to 3 days. Interestingly, the next day it is often even tastier, as the moisture from the apples seeps into the sponge cake, making it even juicier.
📸 Ugotowane przez społeczność
Zaloguj się, aby dodać zdjęcieDodaj zdjęcie gotowej potrawy
Po zatwierdzeniu przez moderatora otrzymasz 10 punktów doświadczenia.
Nikt jeszcze nie dodał zdjęcia. Bądź pierwszy!
Comments (0)
Be the first to comment on this recipe!
Add a comment