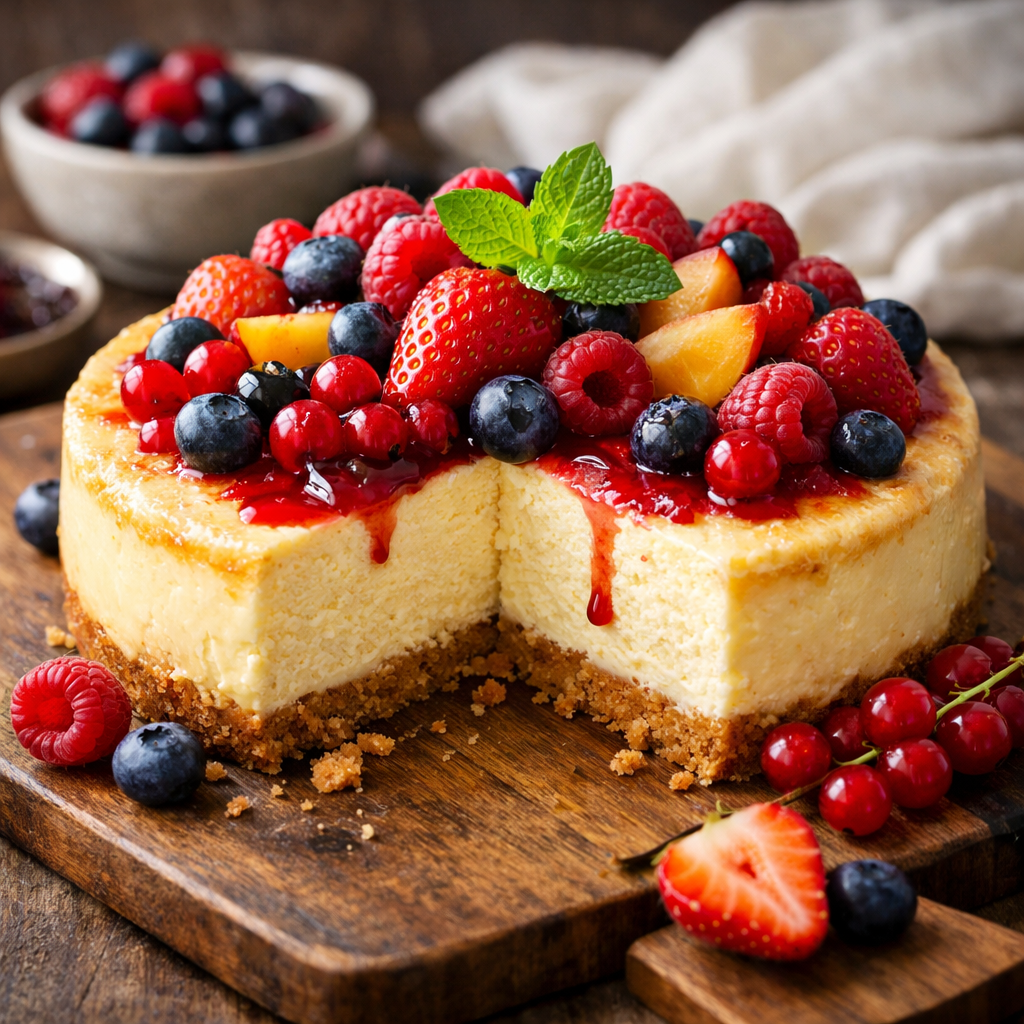
Prepare the dishes and ingredients: take the butter out 30 minutes in advance so that the part for the cream softens; chill the cream. Prepare a 22 cm springform pan: remove the bottom and line it with baking paper or use a pan with a removable bottom. Measure the ingredients and prepare a small bowl for the gelatin.
Description
A delicate, buttery no-bake cheesecake that combines the creamy texture of cottage cheese and cream with a distinct buttery note in the biscuit base. Inspired by modern Polish cuisine: the use of seasonal apples and pears along with fresh raspberries creates a contrast between the creamy filling and slightly tart fruits. The cheesecake is light, unbaked, and perfect as a dessert after a heavier winter meal; served with fruit, it looks impressive and colorful. It will be ideal for a Sunday family gathering, a small party, or a festive table as a lighter alternative to the classic baked cheesecake.
Ingredients Used
Ingredients (13)
- Biscuits 200 g
- Butter 130 g
- Cottage cheese 600 g
- 30% heavy cream 200 g
- Powdered sugar 100 g
- Gelatin 12 g
- Lemon 0.9 szt. (~70 g)
- Apple 1.1 szt. (~200 g)
- Pear 1.1 szt. (~200 g)
- Raspberry 150 g
- 🌿 Przyprawy
- Salt 1 g
- ✨ Opcjonalne
- Cinnamon 2 g
- Almond 30 g
💡 Kliknij na składnik aby oznaczyć jako użyty
Preparation steps
Preparation
Base
Crush the biscuits: place 200 g of biscuits in a ziplock bag, seal it, and roll with a rolling pin or use a blender in pulses to achieve fine crumbs (they should resemble wet sand). Transfer the crumbs to a medium bowl.
Melt 80 g of butter in a small saucepan over very low heat (or in the microwave in short 10-second intervals). Pour the melted butter over the crumbs and mix with a wooden spoon until all the crumbs are evenly moist. The consistency should resemble wet sand — when you squeeze the mixture in your hand, it should hold together.
Line the bottom of a 22 cm springform pan with parchment paper. Transfer the mixture of biscuits and butter to the pan and spread it evenly. Use a spoon or a glass to firmly and evenly press down the base — press for about 2–3 minutes, so that the edges are compact and do not crumble.
Place the crust in the refrigerator for at least 15 minutes to firm up and bind with the butter. This will prevent the crust from crumbling when cutting the cheesecake.
Buttercream
Prepare the gelatin: sprinkle 12 g of gelatin powder into a small bowl and evenly sprinkle 60 g (ml) of cold water over it. Let it sit for 5–7 minutes until the gelatin swells and takes on a gel-like structure.
Gently dissolve the swollen gelatin: place the bowl with gelatin over a pot of gently boiling water (water bath) and stir with a teaspoon until the gelatin becomes completely liquid and clear (about 1–2 minutes). Do not cook the gelatin directly — the temperature should not exceed 60°C. Set aside to cool for 2–3 minutes (it should be warm, but not hot).
In a large bowl, place 600 g of cottage cheese and 100 g of powdered sugar. Use a hand mixer on low speed or a spatula; mix for 30–60 seconds until you achieve a smooth mixture (do not over-aerate). Add 50 g of soft butter and mix thoroughly until the mixture becomes velvety.
Add 200 g of chilled 30% cream and 1 g of salt to the cheese mixture. Whip briefly with a mixer (about 20–30 seconds) on low speed just until combined — the mixture should be creamy and slightly fluffy, but not overly aerated.
Pour the cooled but still liquid gelatin in a thin stream into the cheese mixture while continuously mixing with a hand mixer on low speed. Pour slowly (about 1–2 minutes) to ensure the gelatin is evenly distributed and does not form lumps. After pouring, mix for another 20–30 seconds — the mixture should become more fluid and silky.
Fruits
Cut 200 g of apple and 200 g of pear into small cubes or thin slices. Transfer to a bowl, drizzle with the juice of half a lemon (about 35 g), and add 10 g of powdered sugar. If using cinnamon (optional), sprinkle with 1 teaspoon (2 g). Mix and set aside for 8–10 minutes to allow the fruits to release their juice and soften.
Assembly
Pour about 3/4 of the cream onto the cooled and chilled base. Keep the rest of the cream for decoration. Evenly spread the cream on top with a spatula. Arrange the drained pieces of apple and pear on the cream, as well as some raspberries (leave a few raspberries for decoration). Gently press the fruits down so that they are submerged in the cream, but do not press them all the way to the edges.
Finishing: on top, arrange the remaining raspberries and optionally apple slices for decoration. Gently sprinkle with almond flakes (optional). If needed, grate a little lemon zest on top for a fresh aroma.
Cooling
Chilling and setting: place the cheesecake in the refrigerator for at least 4 hours, preferably overnight. After about 30–45 minutes, check if the top has started to set slightly; the final consistency will be ready after a few hours of cooling.
Serving
Remove the cheesecake from the springform pan: run a sharp, thin knife along the edges of the pan, then open the ring. When cutting, dip the knife in hot water and dry it with a cloth before each cut to ensure smooth slices. Serve chilled, cut into 8 equal pieces.
Fun Fact
Cold cheesecake became popular in Poland in the 20th century as an easy alternative to baked cheesecake. The addition of butter to the crust and filling enhances the buttery profile, bringing the dessert closer to traditional Polish baked goods with a distinct emphasis on dairy fat.
Best for
Tips
Serve chilled, preferably after 4–6 hours in the fridge. When slicing, dip the knife in hot water between cuts to achieve even slices. Add a slightly sour raspberry sauce or lemon syrup for contrast. Serve with a cup of strong tea or delicate coffee.
Store the cheesecake in the refrigerator covered for up to 3 days. Do not freeze the finished cheesecake (gelatin loses its structure after thawing). If you want to prepare it in advance, cool it completely and cover it loosely with plastic wrap to prevent condensation.
📸 Ugotowane przez społeczność
Zaloguj się, aby dodać zdjęcieDodaj zdjęcie gotowej potrawy
Po zatwierdzeniu przez moderatora otrzymasz 10 punktów doświadczenia.
Nikt jeszcze nie dodał zdjęcia. Bądź pierwszy!
Comments (0)
Be the first to comment on this recipe!
Add a comment