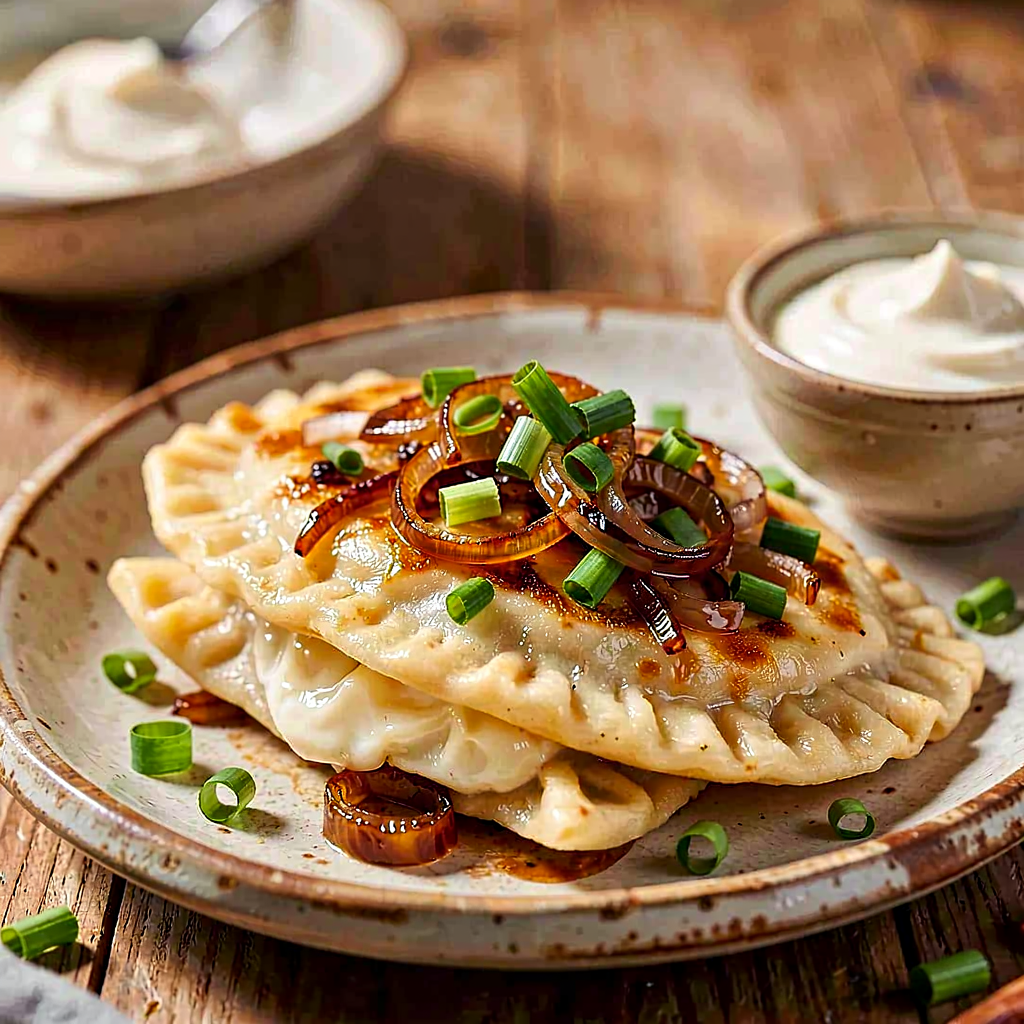
Recipe for: Russian Pierogi with Fried Onion and Fresh Chives

European cuisine Regional Cuisine of Poland 90 min Medium 0 views ~17.32 PLN * - (0)
Rate:
(0)
Start Cooking

Description

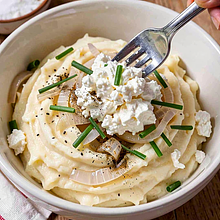
Classic Russian pierogi in a Greater Poland version: delicate wheat dough with a creamy filling of potatoes and semi-fat cottage cheese, served with intensely sautéed onions and fresh chives. The dish has a simple, hearty flavor with a hint of buttery sweetness from the onions and herbal freshness. Perfect for summer lunches and family gatherings, it pairs wonderfully with sour cream or a light salad of seasonal vegetables. Visually, the contrast between the white filling, golden onions, and green chives creates an appetizing composition.

Ingredients Used

Ingredients (13)

Servings:
4
  • Wheat flour 500 g
  • Chicken egg 1 pcs (~60 g)
  • Water 200 ml
  • Rapeseed oil 15 g
  • Potatoes 5.3 pcs (~800 g)
  • Semi-fat cottage cheese 250 g
  • Onion 2 pcs (~300 g)
  • Butter 80 g
  • 🌿 Spices
  • Salt 18 g
  • Black pepper 4 pinch (~2 g)
  • Chives 0.3 bunch (~30 g)
  • ✨ Optional
  • 18% cream 200 ml
  • Cracklings 80 g
💰 Estimated dish cost: ~17.32 PLN (4.33 PLN/serving)
* Prices missing for some ingredients

💡 Click an ingredient to mark it as used

Preparation steps

Cake

1

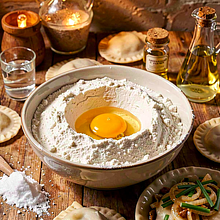
Sift the flour into a large bowl (at least 3 l). Make a large well in the center of the flour. Crack an egg into the well, add 10 g of salt and 15 g of rapeseed oil. Gradually pour in 200 ml of lukewarm water, mixing with a fork, starting from the center and then gradually incorporating the flour from the sides until a sticky mass forms.

Ingredients: Wheat flour, Water, Salt, Rapeseed oil
Use a large metal or plastic bowl and a fork. If you don't have a mixer, mix by hand - vigorously, until the ingredients are combined. Do not add all the water at once; the dough should be soft, not runny.
2

Place the dough on a lightly floured surface and knead for 7–10 minutes: stretch and fold the dough until it becomes smooth and elastic. The dough is ready when it no longer sticks to your hands and springs back slightly when pressed with a finger.

Ingredients: Wheat flour
Use a wooden pastry board or a clean countertop. If you have a mixer with a dough hook, knead for 4–5 minutes on low speed. Do not add too much flour - the dough should be elastic but not dry.
3

Shape the dough into a ball, lightly brush it with rapeseed oil, and place it in a bowl. Cover with a clean cloth and let it rest for 20–30 minutes at room temperature, so the dough can relax — it will become more pliable and easier to roll out.

Ingredients: Rapeseed oil
Use a large bowl and a damp cloth. Do not place in a cold kitchen; the dough rests faster in a warm place.

Filling

4

Peel the potatoes and cut them into even pieces. Place them in a pot with cold water, add salt (about 8 g of salt) and cook covered for about 20–25 minutes from the moment it boils, until they are very soft (you can check with a fork — it should go in easily).

Ingredients: Salt
Use a medium pot and lid. Do not cook on too high heat — maintain a gentle, steady simmer so the potatoes cook evenly.
5

Drain the potatoes and steam them for a few minutes in a pot without a lid. Then, mash them thoroughly with a potato masher until smooth. Check the consistency — it should be lump-free.

Ingredients: Butter
Use a masher or potato ricer. If the potatoes are very dry, add a tablespoon of butter (from the total amount) to achieve a creamy texture.
6

Using a fork, crumble the cheese and combine it with the hot mashed potatoes, add 2 g of pepper and optionally 4 g of additional salt (to taste). Mix vigorously until the mixture is uniform and creamy — the filling should be thick, not watery.

Ingredients: Semi-fat cottage cheese, Black pepper, Salt
Use a large bowl and a wooden spoon. Taste the filling — it is ready when the flavors are balanced and the consistency allows you to easily form balls.

Sautéed onion

7

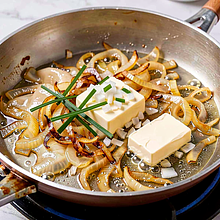
Peel and dice the onion. In a large skillet, melt 50 g of butter over medium heat, add the onion, and sauté for 8–12 minutes, stirring every 30–60 seconds, until the onion is golden and slightly caramelized (it should be soft and have a sweet aroma).

Ingredients: Onion, Butter
The best pan is 24–28 cm in diameter. Be careful not to burn the onion — if it starts to brown too quickly, lower the heat and add a little water.
8

Set aside half of the sautéed onion in a bowl — it will be used as a topping for the dumplings. You can add the other half to the filling (optional) for a deeper flavor: mix it with the prepared filling, taste, and adjust seasoning if necessary.

Ingredients: Onion, Butter
Additionally, you can add more butter to the filling for a richer flavor. If you prefer a milder taste, use less onion in the filling.

Shaping and cooking

9

Divide the rested dough into 4 parts. Roll one part on a lightly floured surface to a thickness of about 2 mm. Use a glass with a diameter of about 7 cm to cut out circles. Place about 15–18 g of filling on each circle (use a teaspoon), spreading the filling evenly in the center, leaving the edges free.

Ingredients: Wheat flour, Semi-fat cottage cheese
Use a pastry cutter or knife to separate the dough. If the filling is too soft, chill it in the refrigerator for 10–15 minutes; this will make it easier to shape the dumplings.
10

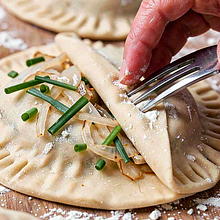
Fold the circle in half and seal the edges tightly, first with your finger, then pressing them with a fork or making a ruffle with your thumb and index finger. Make sure the edges are sealed — the dumplings should not come apart in the water.

Ingredients: Wheat flour
Use a spoon with flour for dusting, but not too much — excess flour makes sealing difficult. Check one test dumpling by cooking it briefly (1–2 minutes) before you start mass production.
11

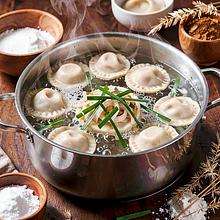
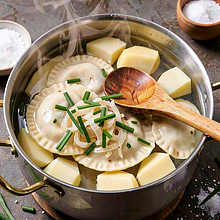
In a large pot, bring 3–4 liters of salted water to a boil. Add the dumplings in batches (no more than 12–15 at a time, so the water temperature doesn't drop too much). Once they float, cook for an additional 2–3 minutes at a gentle boil — the dumplings should be soft and elastic, not mushy.

Ingredients: Salt, Wheat flour
Use a strainer or slotted spoon to remove them. Cook over high heat, but avoid a vigorous boil that can break the dumplings apart.

Serving

12

Remove the cooked pierogi from the plate, drizzle with some of the hot butter from the pan with sautéed onions, and sprinkle with freshly chopped chives. In the center of the plate, place 1–2 tablespoons of sour cream, if using. Finally, add the remaining sautéed onions and optionally sprinkle with cracklings.

Ingredients: Butter, Onion, Chives, 18% cream, cracklings
Use flat dinner plates with a diameter of 24–28 cm. Additionally, you can add grilled corn or a cucumber and dill salad as a summer touch.

Final tips

13

If there are any dumplings left, spread them out individually on a baking sheet, lightly sprinkle with flour, and chill, then freeze them spread out individually. After freezing, transfer to bags and store for up to 3 months. Cook the frozen dumplings immediately, increasing the cooking time by 1–2 minutes after they float to the surface.

Ingredients: Wheat flour
Use flat trays and baking paper to prevent the dumplings from sticking together. Label the date on the bag.

Fun Fact

💡

Russian pierogi, although the name suggests origins from Rus', are a classic dish of Polish cuisine and popular in the Greater Poland region. The name 'Russian' comes from the cuisine of Southeastern Europe (Red Rus'), where similar fillings were used.

Best for

Tips

🍽️ Serving

Serve hot, immediately after draining from the water. For contrast, add sour cream and fresh chives. For a summer serving, add a cucumber and dill salad or grilled vegetables.

🥡 Storage

Cooked dumplings can be stored in the refrigerator for up to 48 hours in an airtight container. To reheat: sauté in butter for 2–3 minutes on each side or boil for 1–2 minutes in salted water. Frozen dumplings should be cooked without thawing, adding 1–2 minutes to the cooking time.

📸 Cooked by the community

Log in to add a photo
Add a photo of the finished dish

After moderator approval, you will receive 10 experience points.

🍲

No one has added a photo yet. Be the first!

Comments (0)

Be the first to comment on this recipe!

Add a comment

You might also like

Recipe Categories

European cuisine is a mosaic of culinary traditions from the Old Continent - from Spain to Scandinavia. Valencian paella and tapas from Spain - sunshine on a plate. Boeuf bourguignon and ratatouille from France - elegance and finesse. Wiener schnitzel and strudel from Austria - Central European c...

See all recipes in this category

Traditional recipes from various regions of Poland that showcase the richness of local flavors and ingredients.

See all recipes in this category
Advertisement